---
title: How to set up React error tracking
date: 2025-03-21
author:
- ian-vanagas
tags:
- error tracking
---
Errors are inevitable when building apps. Setting up error tracking limits their impact by helping you identify, debug, and fix them fast.
To show you how to set this up, we'll create a basic React app, set up PostHog, and then use it to autocapture errors in your app.
## 1. Creating a React app with Vite
First, ensure [Node.js is installed](https://nodejs.dev/en/learn/how-to-install-nodejs/) (version 18.0 or newer) and then create a new React app with Vite:
```bash
npm create vite@latest react-error-tracking -- --template react
cd react-error-tracking
npm install
```
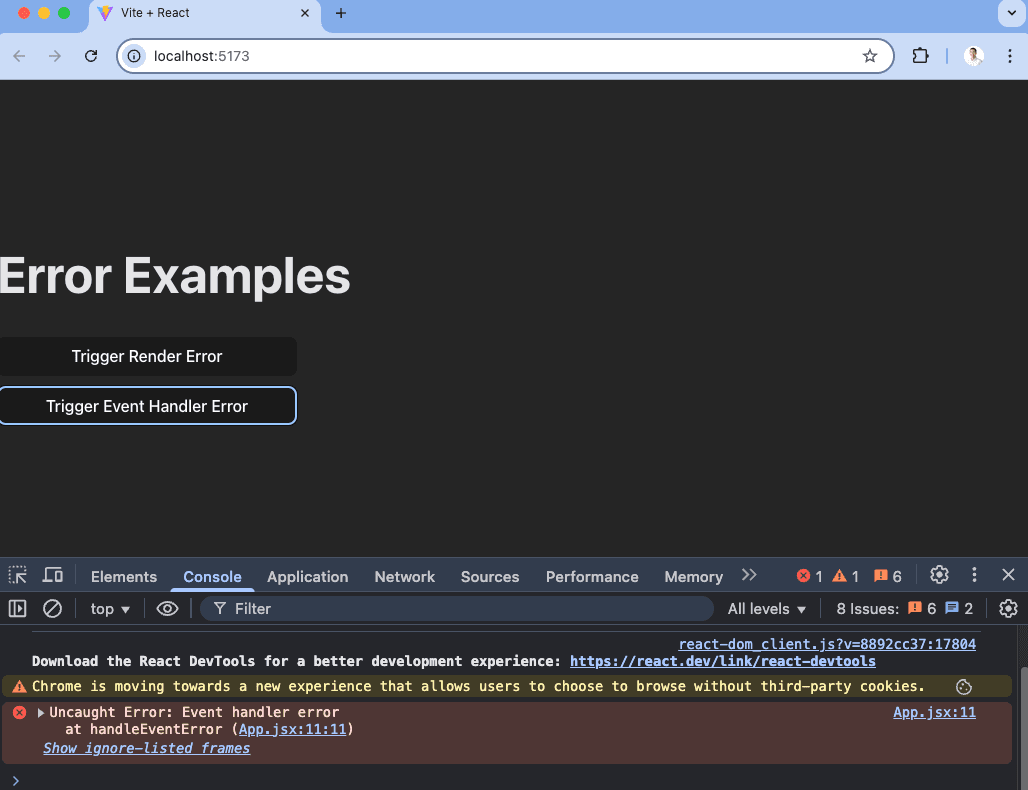
Our app will be a page that can trigger both render errors and manually thrown errors. To do this, set up each of them in `App.jsx` like this:
```js
import { useState } from 'react';
export default function App() {
const [shouldError, setShouldError] = useState(false);
const handleRenderError = () => {
setShouldError(true);
};
const handleEventError = () => {
throw new Error("Event handler error");
};
// This causes a render error
if (shouldError) {
throw new Error("Render error");
}
return (
Error Examples
);
}
```
Now, we can run `npm run dev` and click the buttons to trigger the different types of errors.
## 2. Setting up PostHog for error tracking
Next, we'll set up PostHog to capture these errors. First, we need to install `posthog-js` and `@posthog/react`:
```bash
npm install posthog-js @posthog/react
```
Next, create a `PostHogProvider.jsx` file in your `src` directory, and in it, initialize PostHog using your project API key and host from [your project settings](https://us.posthog.com/settings/project). While you are there, make sure that [exception autocapture](https://us.posthog.com/settings/environment-error-tracking#error-tracking-exception-autocapture) is enabled.
```js
// src/PostHogProvider.jsx
import { useEffect } from 'react';
import posthog from 'posthog-js';
import { PostHogProvider as PHProvider } from '@posthog/react';
export function PostHogProvider({ children }) {
useEffect(() => {
posthog.init('', {
api_host: '',
defaults: '',
});
}, []);
return (
{children}
);
}
```
Once done, import it into `main.jsx` and wrap your app with it like this:
```js
import { StrictMode } from 'react'
import { createRoot } from 'react-dom/client'
import './index.css'
import App from './App.jsx'
import { PostHogProvider } from './PostHogProvider.jsx'
createRoot(document.getElementById('root')).render(
,
)
```
Once done, re-run your app with `npm run dev` and PostHog will autocapture errors along with their details.
You can also capture errors manually with PostHog’s `captureException` method like this:
```js
import { usePostHog } from '@posthog/react';
export default function App() {
const posthog = usePostHog();
const handleError = () => {
const error = new Error("Manual Error");
posthog.captureException(error);
}
return (
Error Example
);
}
```
This is helpful if you have existing error handling logic you want to integrate PostHog into.
## 3. Monitoring errors in PostHog
Once you’ve set up error capture in your app, you can head to the [error tracking tab](https://us.posthog.com/error_tracking) in PostHog to review the issues popping up along with their frequency.
You can click into any of these errors to get more details on them, including a stack trace as well as archive, resolve, or suppress them. On top of this, you can analyze `$exception` events like you would any event in PostHog, including setting up [trends](/docs/product-analytics/trends/overview) for them and querying them with [SQL](/docs/product-analytics/sql).