---
title: How to set up surveys in React
date: 2025-03-07
author:
- lior-neu-ner
showTitle: true
sidebar: Docs
tags:
- surveys
---
[Surveys](/docs/surveys) are a great tool to collect qualitative feedback from your users. This tutorial shows you how to easily set up surveys in your React app.
We'll create a React app with Vite, add PostHog, create a survey, and then add the code to show the survey in-app and collect responses.
## Creating a React app with Vite
First, create a React app using Vite and go into the newly created `react-survey` folder.
```bash
npm create vite@latest react-survey -- --template react
cd react-survey
npm install
```
Next, replace the boilerplate code in `src/App.jsx` with the following:
```jsx
// src/App.jsx
import './App.css'
function App() {
return (
This is our survey tutorial
)
}
export default App
```
Finally, run `npm run dev` and go to `http://localhost:5173` to see our new homepage.
## Adding PostHog
PostHog will manage our survey and track our results. To use [PostHog's React SDK](/docs/libraries/react), install `posthog-js` and `@posthog/react`:
```bash
npm install posthog-js @posthog/react
```
Once installed, import PostHog into `src/main.jsx` and set up a client using your project API key and host from [your project settings](https://us.posthog.com/settings/project). Then, wrap the app with `PostHogProvider` to access PostHog in any component.
```jsx
// src/main.jsx
import React from 'react'
import ReactDOM from 'react-dom/client'
import './index.css'
import App from './App.jsx'
import posthog from 'posthog-js'
import { PostHogProvider } from '@posthog/react'
posthog.init('', {
api_host: '',
defaults: '',
})
ReactDOM.createRoot(document.getElementById('root')).render(
,
)
```
With PostHog set up, our React app is ready for the survey.
## Creating a survey
There are two options for displaying a survey using PostHog:
1. Use PostHog's prebuilt survey UI.
2. Implement your own survey UI.
This tutorial will cover how to implement both options.
## Option 1: Use PostHog's prebuilt survey UI
For fast set up, you can use PostHog's prebuilt surveys. There are variety of [survey types](/docs/surveys/creating-surveys#question-type) to choose from, and PostHog handles all the display logic and event capture for you.
To create a survey with a prebuilt UI, go to the [Surveys tab](https://us.posthog.com/surveys) in PostHog and click **New survey**. Select a template like **Open feedback**, customize it how you'd like, click **Save as draft**, and then **Launch**.
Your survey is now live and you should see it in your app. There are no further code changes needed!
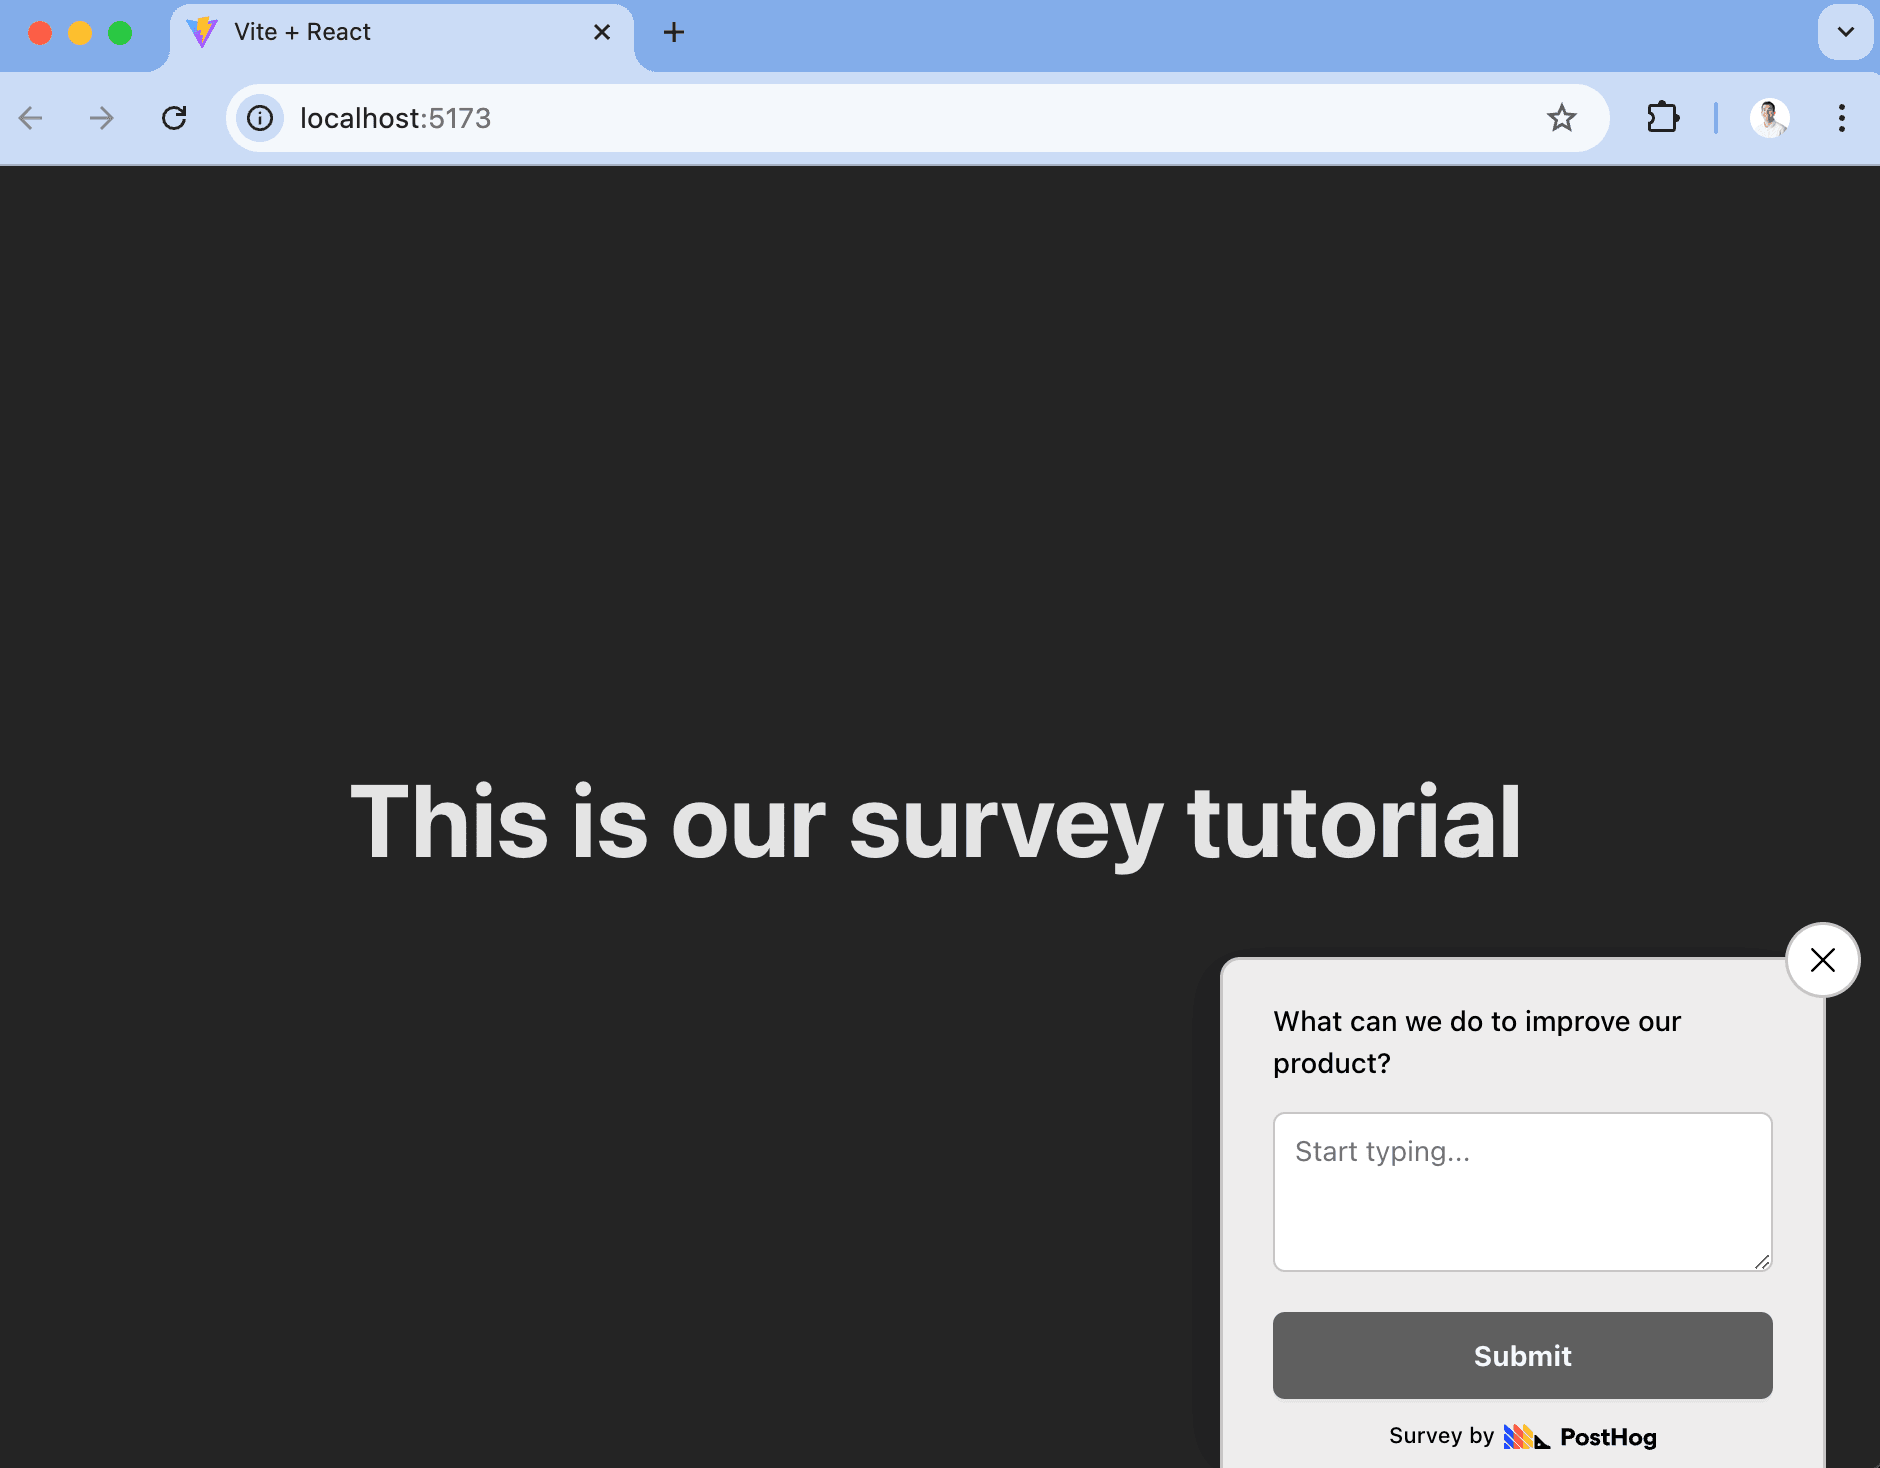
Popover surveys provide a bunch of customization options like colors, text, position, font, targeting, completion conditions, and more.
## Option 2: Implement your own survey UI
If you want more customization than what PostHog's prebuilt surveys provide, you can implement your own survey UI.
To do this, go to the [surveys tab](https://app.posthog.com/surveys), click **New survey**, and select the **Net promoter score** template (others work too, but we'll use this as an example). On the new survey page, set **Presentation** to **API**, click **Save as draft**, and then **Launch**.
Once created, there are three parts to implementing it in your app:
1. Create the survey UI.
2. Add the logic for displaying it.
3. Capture interactions from it.
### 1. Create the survey UI
We've created an example survey UI for this tutorial. To use it, create a new file in the `src` folder called `Survey.jsx` and paste the following code:
```jsx
// src/Survey.jsx
import React from 'react'
function Survey({ title, onDismiss, onSubmit }) {
const [selectedValue, setSelectedValue] = React.useState(null)
const handleSelect = (value) => {
setSelectedValue(value)
}
const handleSubmit = () => {
onSubmit(selectedValue)
}
return (
)
}
export default App
```
This shows a survey popup every time you visit your app's homepage.

### 2. Add the logic for displaying it.
The first part of handling our display logic is fetching the survey from PostHog. PostHog keeps track of all active surveys for a user (this is especially helpful if you have set up [custom display conditions](/docs/surveys/creating-surveys#display-conditions)).
To fetch the active surveys, we use the `usePostHog` hook to retrieve our PostHog instance. Then, we call `posthog.getActiveMatchingSurveys()` using `useEffect()`:
```jsx
// src/App.jsx
import './App.css'
import { useEffect, useState } from 'react'
import Survey from './Survey'
import { usePostHog } from '@posthog/react'
function App() {
// ... rest of your code ...
const posthog = usePostHog()
useEffect(() => {
posthog.getActiveMatchingSurveys((surveys) => {
// TODO: configure the survey
})
}, [posthog]) // posthog may be undefined until it's had a chance to initialize. Hence use it as a dependency for useEffect
// ... rest of your code ...
}
export default App
```
`posthog.getActiveMatchingSurveys()` returns a surveys object that looks like this:
```json
[
{
"id": "01957237-575c-0000-8d67-a487d71be79c",
"name": "Net promoter score (NPS)",
"type": "api",
"internal_targeting_flag_key": "survey-targeting-82c05b5497-custom",
"questions": [
{
"id": "65d26a2a-0d0a-4aa0-ac58-10cf3ea8e509",
"type": "rating",
"scale": 10,
"display": "number",
"question": "How likely are you to recommend us to a friend?",
"description": "",
"lowerBoundLabel": "Unlikely",
"upperBoundLabel": "Very likely",
"descriptionContentType": "text"
}
],
"conditions": null,
"appearance": {
"position": "right",
"fontFamily": "system-ui",
"whiteLabel": false,
"borderColor": "#c9c6c6",
"placeholder": "Start typing...",
"backgroundColor": "#eeeded",
"ratingButtonColor": "white",
"submitButtonColor": "black",
"submitButtonTextColor": "white",
"thankYouMessageHeader": "Thank you for your feedback!",
"displayThankYouMessage": true,
"ratingButtonActiveColor": "black"
},
"start_date": "2025-03-07T20:06:27.311000Z",
"end_date": null,
"current_iteration": null,
"current_iteration_start_date": null,
"schedule": "once"
}
]
```
We can use this survey object (especially the `id` and `questions`) to configure our `Survey` component in `App.jsx`:
```jsx
// src/App.jsx
// ... rest of your code ...
const [surveyTitle, setSurveyTitle] = useState(false)
const surveyID = '01957237-575c-0000-8d67-a487d71be79c'
useEffect(() => {
posthog.getActiveMatchingSurveys((surveys) => {
if (surveys.length > 0) {
const survey = surveys.find(s => s.id === surveyID)
setSurveyTitle(survey.questions[0].question)
}
})
}, [posthog]) // posthog may be undefined until it's had a chance to initialize. Hence use it as a dependency for useEffect
// ... rest of your code ...
return (
This is our survey tutorial
{showSurvey && (
)}
```
Finally, we want to make sure we don't show the survey again to users who have either submitted or dismissed it.
We use [`localStorage`](https://developer.mozilla.org/en-US/docs/Web/API/Window/localStorage) to store this data. Then, we'll add a check to show the survey based on whether the user has already interacted with it or not:
```jsx
// src/App.jsx
function App() {
// ... rest of your code ...
const [showSurvey, setShowSurvey] = useState(true)
useEffect(() => {
// Check local storage to see if the user has already seen this particular survey
const hasInteractedWithSurvey = localStorage.getItem(`hasInteractedWithSurvey_${surveyID}`)
setShowSurvey(!hasInteractedWithSurvey)
}, [surveyID])
const handleDismiss = () => {
setShowSurvey(false)
console.log("Survey dismissed!")
localStorage.setItem(`hasInteractedWithSurvey_${surveyID}`, 'true')
}
const handleSubmit = (value) => {
setShowSurvey(false)
console.log("User submitted:", value)
localStorage.setItem(`hasInteractedWithSurvey_${surveyID}`, 'true')
}
return (
This is our survey tutorial
{showSurvey && (
)}
)
}
export default App
```
#### 3. Capture interactions from it.
The final step in setting up our survey is capturing interactions. This enables us to analyze the results in PostHog.
There are 3 events to capture:
1. `survey shown`
2. `survey dismissed`
3. `survey sent` (for responses)
You can capture these events using `posthog.capture()`:
```jsx
// ... rest of your code ...
const handleDismiss = () => {
setShowSurvey(false)
console.log("Survey dismissed!")
localStorage.setItem(`hasInteractedWithSurvey_${surveyID}`, 'true')
posthog.capture("survey dismissed", {
$survey_id: surveyID // required
})
}
const handleSubmit = (value) => {
setShowSurvey(false)
console.log("User submitted:", value)
localStorage.setItem(`hasInteractedWithSurvey_${surveyID}`, 'true')
posthog.capture("survey sent", {
$survey_id: surveyID, // required
$survey_response_a3071551-d599-4eeb-9ffe-69e93dc647b6: value, // required
$survey_questions: [
{
id: "a3071551-d599-4eeb-9ffe-69e93dc647b6",
question: "How likely are you to recommend us to a friend?",
}
] // required for `getSurveyResponse` to work as expected
})
}
useEffect(() => {
if (posthog && showSurvey) {
posthog.capture("survey shown", {
$survey_id: surveyID // required
})
}
}, [showSurvey, posthog])
// ... rest of your code ...
```
Final App.jsx code
```jsx
// src/App.jsx
import './App.css'
import { useEffect, useState } from 'react'
import Survey from './Survey'
import { usePostHog } from '@posthog/react'
function App() {
const [showSurvey, setShowSurvey] = useState(true)
const [surveyTitle, setSurveyTitle] = useState(false)
const surveyID = '01957237-575c-0000-8d67-a487d71be79c'
const posthog = usePostHog()
useEffect(() => {
posthog.getActiveMatchingSurveys((surveys) => {
if (surveys.length > 0) {
const survey = surveys.find(s => s.id === surveyID)
setSurveyTitle(survey.questions[0].question)
}
})
}, [posthog]) // posthog may be undefined until it's had a chance to initialize. Hence use it as a dependency for useEffect
useEffect(() => {
// Check local storage to see if the user has already seen this particular survey
const hasInteractedWithSurvey = localStorage.getItem(`hasInteractedWithSurvey_${surveyID}`)
setShowSurvey(!hasInteractedWithSurvey)
}, [surveyID])
useEffect(() => {
if (posthog && showSurvey) {
posthog.capture("survey shown", {
$survey_id: surveyID // required
})
}
}, [showSurvey, posthog])
const handleDismiss = () => {
setShowSurvey(false)
console.log("Survey dismissed!")
localStorage.setItem(`hasInteractedWithSurvey_${surveyID}`, 'true')
posthog.capture("survey dismissed", {
$survey_id: surveyID // required
})
}
const handleSubmit = (value) => {
setShowSurvey(false)
console.log("User submitted:", value)
localStorage.setItem(`hasInteractedWithSurvey_${surveyID}`, 'true')
posthog.capture("survey sent", {
$survey_id: surveyID, // required
$survey_response_a3071551-d599-4eeb-9ffe-69e93dc647b6: value, // required
$survey_questions: [
{
id: "a3071551-d599-4eeb-9ffe-69e93dc647b6",
question: "How likely are you to recommend us to a friend?",
}
] // required for `getSurveyResponse` to work as expected
})
}
return (
This is our survey tutorial
{showSurvey && (
)}
)
}
export default App
```
That's it! Our survey is ready to go!
## Viewing results
After interacting with your survey, you can view results by selecting the survey from the [surveys tab](https://app.posthog.com/surveys). You'll see data on:
- How many users have seen the survey.
- How many users have dismissed the survey.
- Responses, including visuals like trends or NPS distributions.
If you capture identified events, you can also filter these results based on [person properties](/docs/product-analytics/person-properties), [cohorts](/docs/data/cohorts), [feature flags](/docs/feature-flags/creating-feature-flags) and more.
## Further reading
- [How to write great product survey questions (with examples)](/blog/product-survey-questions)
- [Get feedback and book user interviews with surveys](/tutorials/feedback-interviews-site-apps)
- [How to set up analytics in React](/tutorials/react-analytics)
- [How to set up feature flags in React](/tutorials/react-feature-flags)