Hello, World!
" ``` Afterward, create a `/blog/Welcome to the blog post: {slug}
""" return response elif request.method == "POST": return f"Thanks for liking {slug}
" ``` Finally run `flask --app hello run` and go to `http://127.0.0.1:5000` to see your basic app running.  ## Setting up PostHog Next, we install PostHog [Python SDK](/docs/libraries/python) and the `uuid` package to generate user IDs. ```bash pip install posthog uuid ``` We import both into our `hello.py` file then use your project API key and instance address from [your project settings](https://app.posthog.com/project/settings) to initialize a PostHog client. ```python # ab-test-demo/hello.py from flask import Flask, request, make_response from posthog import Posthog import uuid posthog = Posthog( 'Welcome to the blog post: {slug}
""" return response elif request.method == "POST": posthog.capture( "liked_post", distinct_id=user_id, properties={ 'slug': slug } ) return f"Thanks for liking {slug}
" ``` Rerun your app with `flask --app hello run`, go to a blog route like `http://127.0.0.1:5000/cool`, click the like button, and you see an event captured in PostHog. 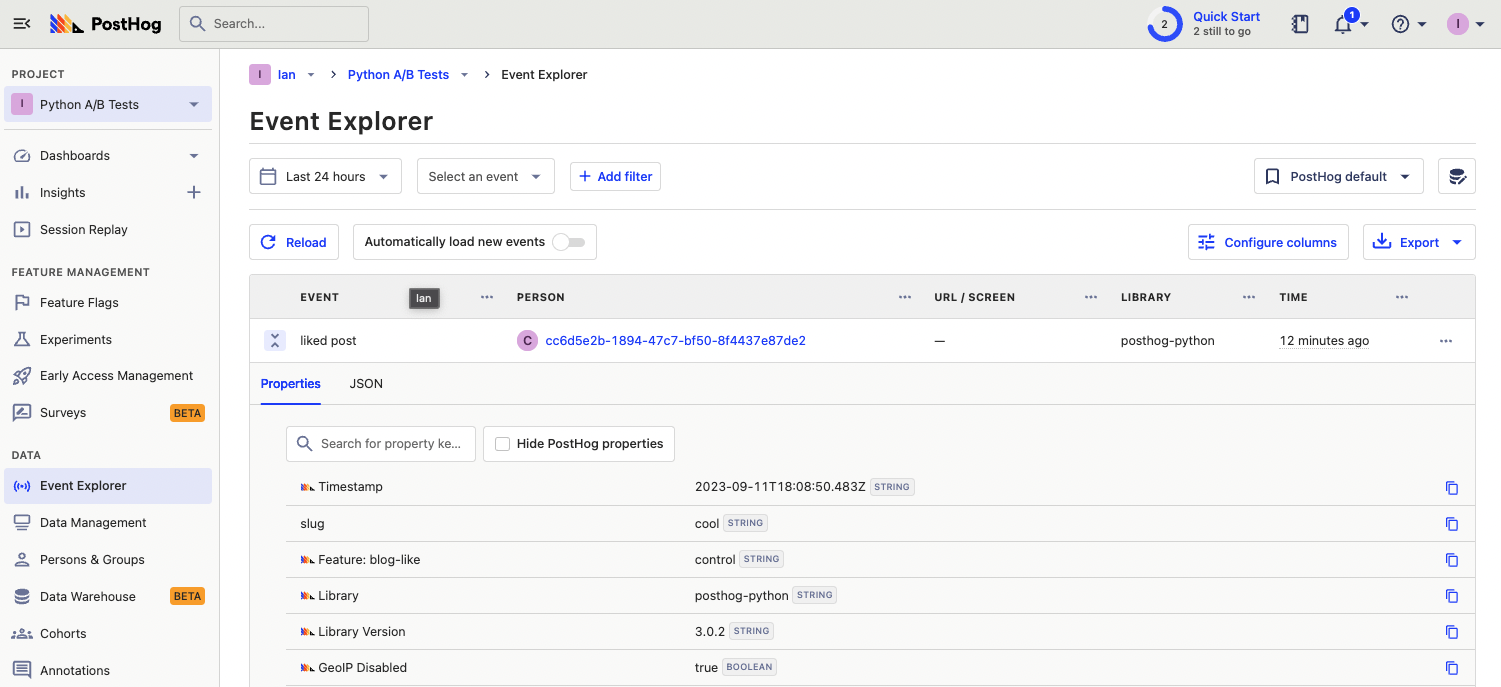 ## Creating an A/B test We are now ready to create and set up our A/B test. To do this, go to the [experiments tab](https://app.posthog.com/experiments) in PostHog and click "New experiment." Enter a name, feature flag key (we use `blog-like`), edit any more details, and click **Save as draft**. Set the primary metric to a trend of the "liked post" event and then click **Launch**.Welcome to the very cool blog: {slug}
""" return response response.data = f"""Welcome to the blog post: {slug}
""" return response # ... elif ``` Restart your app and check a few pages for the new component. You can also add an [optional override](/docs/feature-flags/testing#method-1-assign-a-user-a-specific-flag-value) to your feature flag to show a value to users with specific properties (like `intial_slug` if you set that up). 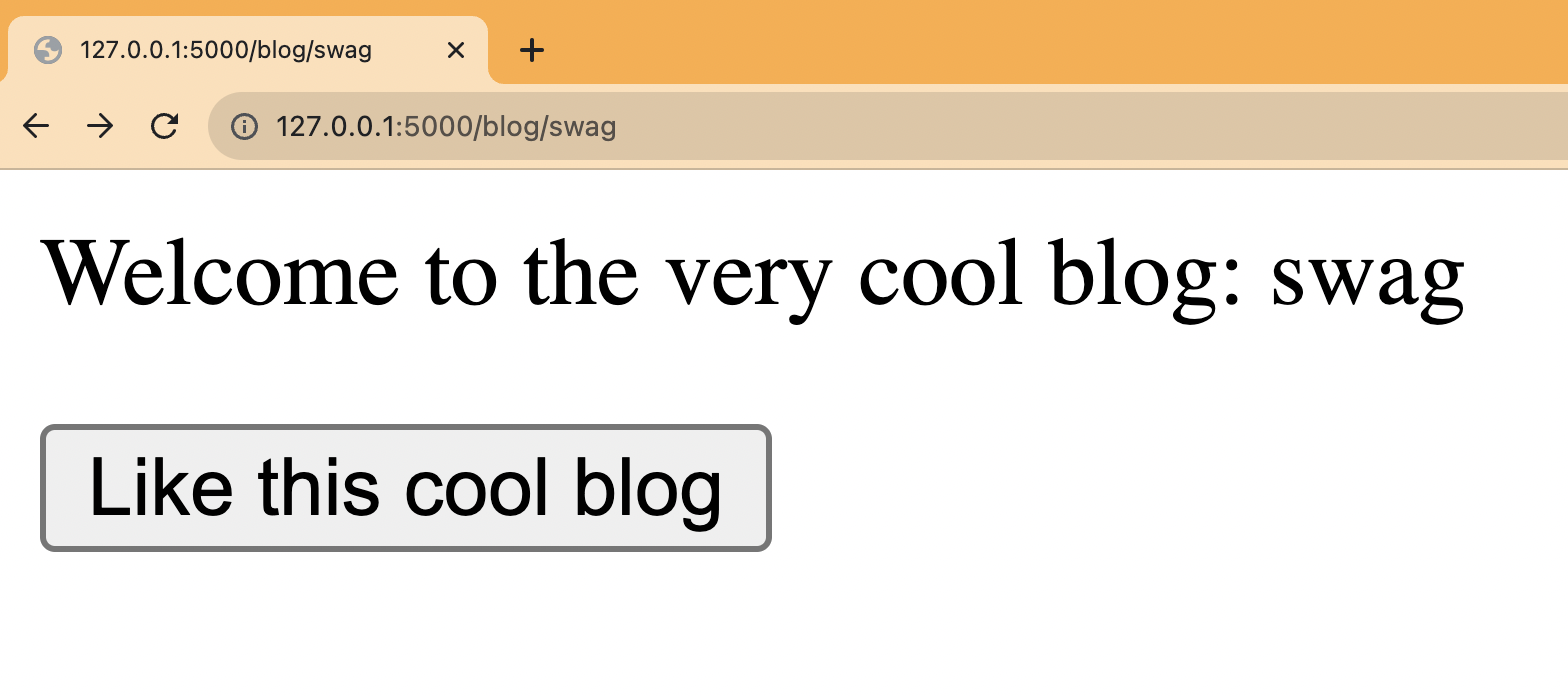 Lastly, we must capture the experiment details in our event. Do this by adding `$feature/blog-like` with the variant key to the `liked post` event’s properties. This enables us to track and analyze our new button’s impact on our goal metric. ```python # ... posthog, flask, hello_world(), blog GET elif request.method == "POST": posthog.capture( "liked_post", distinct_id=user_id, properties={ 'slug': slug, f'$feature/{flag_key}': flag } ) return f"Thanks for liking {slug}
" ``` This is a basic implementation of Python A/B testing in Flask set up. From here, you can customize your implementation to your needs and do [experiments without flags](/docs/experiments/running-experiments-without-feature-flags), [A/B/n tests](/tutorials/abn-testing), or [holdout tests](/tutorials/holdout-testing). ## Further reading - [A software engineer's guide to A/B testing](/blog/ab-testing-guide-for-engineers) - [How to set up analytics in Python and Flask](/tutorials/python-analytics) - [How to set up feature flags in Python and Flask](/tutorials/python-feature-flags)