mirror of
https://github.com/BillyOutlast/posthog.com.git
synced 2026-02-04 03:11:21 +01:00
172 lines
4.9 KiB
Plaintext
172 lines
4.9 KiB
Plaintext
---
|
|
title: How to set up Electron analytics and session replay
|
|
date: 2025-02-04
|
|
author:
|
|
- ian-vanagas
|
|
tags:
|
|
- product analytics
|
|
- session replay
|
|
---
|
|
|
|
Electron enables you to easily create cross-platform desktop apps. Knowing how users are using those apps is the job of analytics, which PostHog makes easy.
|
|
|
|
This tutorial shows you how to create a basic Electron app and then set up PostHog for analytics, session replay, and the rest of PostHog's suite of dev tools.
|
|
|
|
## Creating our Electron app
|
|
|
|
To start, create a new directory for our app (we'll name ours `posthog-electron-tutorial`) and initialize an npm package. Choose the defaults for all the options except **entry point**, which you should set to `main.js`.
|
|
|
|
```bash
|
|
mkdir posthog-electron-tutorial && cd posthog-electron-tutorial
|
|
npm init
|
|
```
|
|
|
|
After initializing npm, install `electron` as a dev dependency:
|
|
|
|
```bash
|
|
npm install electron --save-dev
|
|
```
|
|
|
|
We then add `electron .` as a start script.
|
|
|
|
```json
|
|
{
|
|
"name": "posthog-electron-tutorial",
|
|
"version": "1.0.0",
|
|
"description": "",
|
|
"main": "main.js",
|
|
"scripts": {
|
|
"start": "electron .",
|
|
"test": "echo \"Error: no test specified\" && exit 1"
|
|
},
|
|
"author": "",
|
|
"license": "ISC",
|
|
"devDependencies": {
|
|
"electron": "^34.0.2"
|
|
}
|
|
}
|
|
```
|
|
|
|
Next, we create our `main.js` file. This creates our browser window and loads an `index.html` file we'll create after.
|
|
|
|
```js
|
|
// main.js
|
|
const { app, BrowserWindow } = require('electron')
|
|
|
|
const createWindow = () => {
|
|
const win = new BrowserWindow({
|
|
width: 800,
|
|
height: 600,
|
|
})
|
|
|
|
win.loadFile('index.html')
|
|
}
|
|
|
|
app.whenReady().then(() => {
|
|
createWindow()
|
|
|
|
app.on('activate', () => {
|
|
if (BrowserWindow.getAllWindows().length === 0) {
|
|
createWindow()
|
|
}
|
|
})
|
|
})
|
|
|
|
app.on('window-all-closed', () => {
|
|
if (process.platform !== 'darwin') {
|
|
app.quit()
|
|
}
|
|
})
|
|
```
|
|
|
|
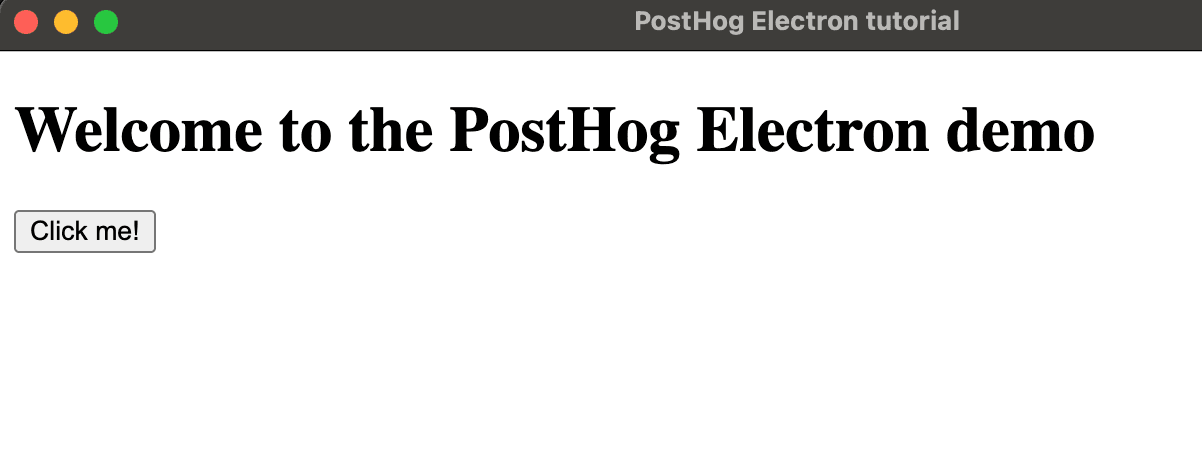
We then create the `index.html` file. This will simply have a title and a button to press.
|
|
|
|
```html
|
|
<!DOCTYPE html>
|
|
<html>
|
|
<head>
|
|
<meta charset="UTF-8" />
|
|
<title>PostHog Electron tutorial</title>
|
|
</head>
|
|
<body>
|
|
<h1>Welcome to the PostHog Electron demo</h1>
|
|
<button id="homeButton">Click me!</button>
|
|
|
|
</body>
|
|
</html>
|
|
```
|
|
|
|
Once done, we can run `npm run start` in the terminal to see our basic app in action
|
|
|
|
|
|
|
|
## Setting up PostHog
|
|
|
|
Start by installing the `posthog-js` package:
|
|
|
|
```bash
|
|
npm i posthog-js
|
|
```
|
|
|
|
Next, create a new `renderer.js` file to import and initialize PostHog with our project API key and host (which you can get in [your project settings](https://us.posthog.com/settings/project)). Importantly, because Electron has security restrictions about loading external code, we need to import PostHog's full bundle. This means our Electron initialization look like this:
|
|
|
|
```js
|
|
// renderer.js
|
|
import posthog from './node_modules/posthog-js/dist/module.full.no-external.js'
|
|
|
|
posthog.init("<ph_project_api_key>", {
|
|
api_host: "<ph_client_api_host>"
|
|
})
|
|
```
|
|
|
|
We then need to add this module to our `index.html` file:
|
|
|
|
```js
|
|
<!DOCTYPE html>
|
|
<html>
|
|
<head>
|
|
<meta charset="UTF-8" />
|
|
<title>PostHog Electron tutorial</title>
|
|
</head>
|
|
<body>
|
|
<h1>Welcome to the PostHog Electron demo</h1>
|
|
<button id="homeButton">Click me!</button>
|
|
|
|
<script type="module" src="renderer.js"></script>
|
|
</body>
|
|
</html>
|
|
```
|
|
|
|
Once done, we can run `npm run start` again, click the button, and we'll see events autocaptured into PostHog.
|
|
|
|
<ProductScreenshot
|
|
imageLight="https://res.cloudinary.com/dmukukwp6/image/upload/Clean_Shot_2025_02_04_at_13_48_21_2x_f41ff92a42.png"
|
|
imageDark="https://res.cloudinary.com/dmukukwp6/image/upload/Clean_Shot_2025_02_04_at_13_48_36_2x_017538cd6c.png"
|
|
alt="PostHog events from Electron"
|
|
classes="rounded"
|
|
/>
|
|
|
|
[Session replay](/docs/session-replay) also works out of the box for Electron apps as long as you enable **record user sessions** in [your project settings](https://us.posthog.com/settings/project-replay).
|
|
|
|
## Capturing custom events
|
|
|
|
Although PostHog autocaptures many events like button clicks and inputs, you can also use it to capture custom events.
|
|
|
|
For example, if we wanted to capture a `home_button_clicked` event, we can simply add an event listener to `renderer.js` and then use the `capture()` method like this:
|
|
|
|
```js
|
|
// renderer.js
|
|
import posthog from './node_modules/posthog-js/dist/module.full.no-external.js'
|
|
|
|
posthog.init("<ph_project_api_key>", {
|
|
api_host: "<ph_client_api_host>"
|
|
})
|
|
|
|
document.getElementById('homeButton').addEventListener('click', () => {
|
|
posthog.capture('home_button_clicked')
|
|
})
|
|
```
|
|
|
|
Because Electron apps don't have pages, you also need to do this to capture `$pageview` events however you set up navigation.
|
|
|
|
Other features of PostHog, like feature flags, experiments, group analytics, and more can all be used through the `posthog` object. See our [JavaScript Web docs](/docs/libraries/js/features) for more details. |