mirror of
https://github.com/BillyOutlast/posthog.com.git
synced 2026-02-06 04:11:22 +01:00
239 lines
9.5 KiB
Markdown
239 lines
9.5 KiB
Markdown
---
|
|
title: How to set up feature flags in Android
|
|
date: 2024-02-19
|
|
author:
|
|
- lior-neu-ner
|
|
tags:
|
|
- feature flags
|
|
---
|
|
|
|
import { ProductScreenshot } from 'components/ProductScreenshot'
|
|
export const EventsInPostHogLight = "https://res.cloudinary.com/dmukukwp6/image/upload/posthog.com/contents/images/tutorials/android-feature-flags/events-light.png"
|
|
export const EventsInPostHogDark = "https://res.cloudinary.com/dmukukwp6/image/upload/posthog.com/contents/images/tutorials/android-feature-flags/events-dark.png"
|
|
export const CreateFlagLight = "https://res.cloudinary.com/dmukukwp6/image/upload/posthog.com/contents/images/tutorials/android-feature-flags/create-flag-light.png"
|
|
export const CreateFlagDark = "https://res.cloudinary.com/dmukukwp6/image/upload/posthog.com/contents/images/tutorials/android-feature-flags/create-flag-dark.png"
|
|
|
|
[Feature flags](/feature-flags) help you conditionally roll out and release features safely. This tutorial shows you how integrate them in Android using PostHog.
|
|
|
|
We'll create a basic Android app, add PostHog, create a feature flag, and then implement the flag to control content in our app.
|
|
|
|
## 1. Create a new Android app
|
|
|
|
Our app will have two screens:
|
|
|
|
- The first screen has a button which takes you to a second screen.
|
|
- The second screen either has a `red` or `green` background color depending on whether our feature flag is enabled or not.
|
|
|
|
The first step is to create a new app. Open [Android Studio](https://developer.android.com/studio) and create a new project. Select `Empty Activity`, name your project `Android-Feature-Flags`, and use the defaults for everything else.
|
|
|
|
Then, replace your code in `MainActivity.kt` to set up a basic UI with a button to navigate to a new screen.
|
|
|
|
```kotlin file=MainActivity.kt
|
|
package com.example.android_feature_flags
|
|
|
|
import android.os.Bundle
|
|
import androidx.activity.ComponentActivity
|
|
import androidx.activity.compose.setContent
|
|
import androidx.compose.foundation.layout.Arrangement
|
|
import androidx.compose.foundation.layout.Column
|
|
import androidx.compose.foundation.layout.fillMaxSize
|
|
import androidx.compose.material3.Button
|
|
import androidx.compose.material3.MaterialTheme
|
|
import androidx.compose.material3.Surface
|
|
import androidx.compose.material3.Text
|
|
import androidx.compose.runtime.Composable
|
|
import androidx.compose.runtime.remember
|
|
import androidx.compose.runtime.mutableStateOf
|
|
import androidx.compose.ui.Alignment
|
|
import androidx.compose.ui.Modifier
|
|
import androidx.compose.ui.graphics.Color
|
|
import androidx.compose.ui.tooling.preview.Preview
|
|
import androidx.navigation.NavController
|
|
import androidx.navigation.compose.NavHost
|
|
import androidx.navigation.compose.composable
|
|
import androidx.navigation.compose.rememberNavController
|
|
import com.example.android_feature_flags.ui.theme.AndroidFeatureFlagsTheme
|
|
|
|
class MainActivity : ComponentActivity() {
|
|
override fun onCreate(savedInstanceState: Bundle?) {
|
|
super.onCreate(savedInstanceState)
|
|
setContent {
|
|
AndroidFeatureFlagsTheme {
|
|
Surface(modifier = Modifier.fillMaxSize(), color = MaterialTheme.colorScheme.background) {
|
|
MyApp()
|
|
}
|
|
}
|
|
}
|
|
}
|
|
}
|
|
|
|
@Composable
|
|
fun MyApp() {
|
|
val navController = rememberNavController()
|
|
NavHost(navController = navController, startDestination = "main_screen") {
|
|
composable("main_screen") {
|
|
Greeting("Android", navController)
|
|
}
|
|
composable("second_screen") {
|
|
SecondScreen()
|
|
}
|
|
}
|
|
}
|
|
|
|
@Composable
|
|
fun Greeting(name: String, navController: NavController, modifier: Modifier = Modifier) {
|
|
Column(modifier = modifier.fillMaxSize()) {
|
|
Text(text = "Hello $name!")
|
|
Button(onClick = { navController.navigate("second_screen") }) {
|
|
Text("Go to next screen")
|
|
}
|
|
}
|
|
}
|
|
|
|
@Composable
|
|
fun SecondScreen() {
|
|
val isFlagEnabled = remember { mutableStateOf(false) } // We'll set this value later in the tutorial
|
|
val backgroundColor = if (isFlagEnabled.value) Color.Green else Color.Red
|
|
|
|
Surface(modifier = Modifier.fillMaxSize(), color = backgroundColor) {
|
|
Column(modifier = Modifier.fillMaxSize(), horizontalAlignment = Alignment.CenterHorizontally, verticalArrangement = Arrangement.Center) {
|
|
}
|
|
}
|
|
}
|
|
|
|
@Preview(showBackground = true)
|
|
@Composable
|
|
fun DefaultPreview() {
|
|
AndroidFeatureFlagsTheme {
|
|
MyApp()
|
|
}
|
|
}
|
|
```
|
|
|
|
Make sure to add `implementation("androidx.navigation:navigation-compose:2.4.0")` to your `dependencies` in to `Gradle Scripts/build.gradle.kts (Module:app)` and sync your project with the Gradle files.
|
|
|
|
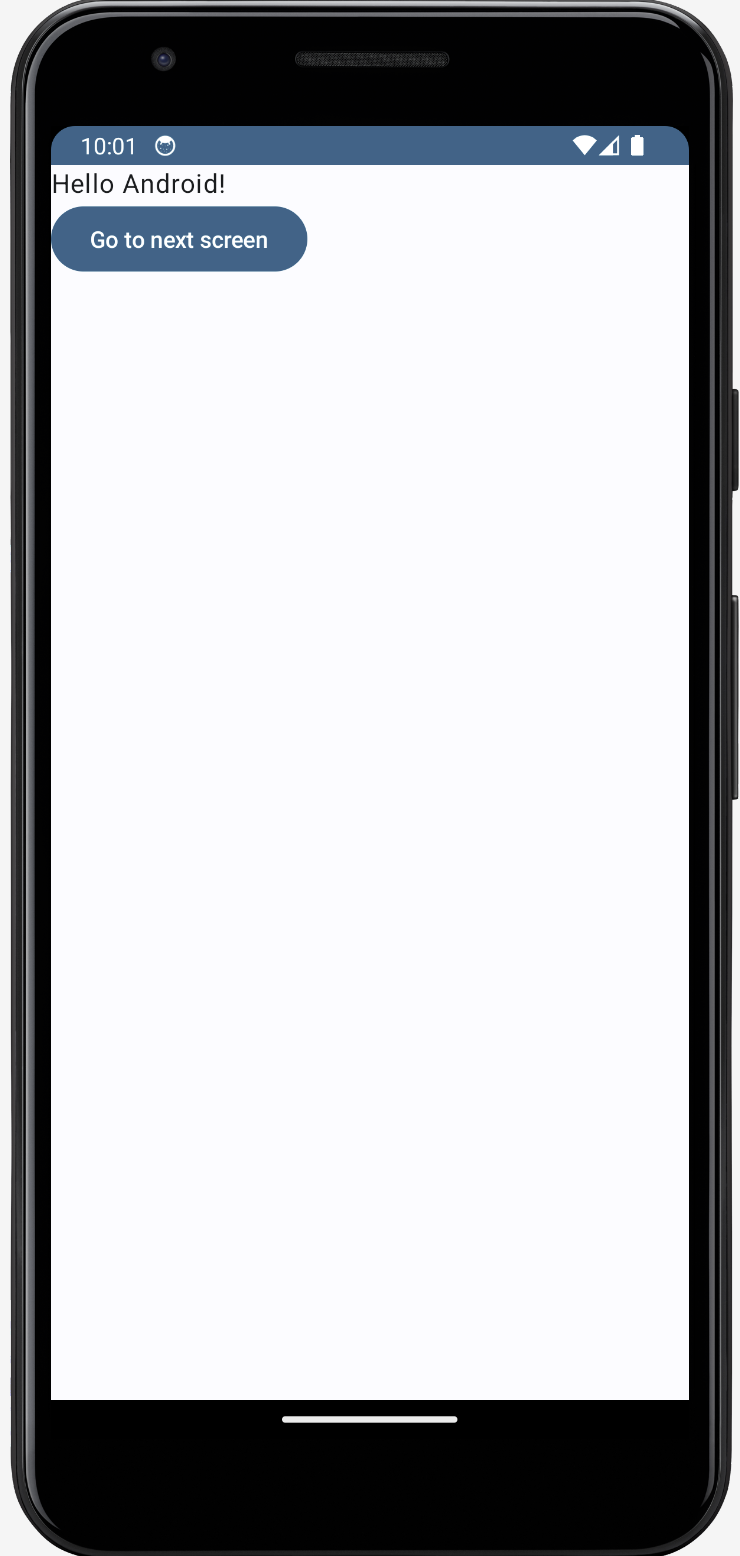
Our basic set up is now complete. Build and run your app to see it in action.
|
|
|
|
|
|
|
|
## 2. Add PostHog to your app
|
|
|
|
First, add the [PostHog Android SDK](/docs/libraries/android) as a dependency in your `Gradle Scripts/build.gradle.kts (Module: app)` file. You can find the latest version on our [GitHub](https://github.com/PostHog/posthog-android/blob/main/CHANGELOG.md). For this tutorial, we use version `3.1.7`.
|
|
|
|
|
|
```gradle_kotlin file=app/build.gradle
|
|
dependencies {
|
|
implementation("com.posthog:posthog-android:3.+")
|
|
//... other dependencies
|
|
}
|
|
```
|
|
|
|
Sync your project with your Gradle file changes.
|
|
|
|
Next, we create a Kotlin class where we can configure our PostHog instance. In the `src/main/java/com.example.android_feature_flags` folder, add a new file `MyFeatureFlagsApplication.kt` and then add the following code:
|
|
|
|
```kotlin file=MyFeatureFlagsApplication.kt
|
|
package com.example.android_feature_flags
|
|
|
|
import android.app.Application
|
|
import com.posthog.android.PostHogAndroid
|
|
import com.posthog.android.PostHogAndroidConfig
|
|
|
|
class MyFeatureFlagsApplication : Application() {
|
|
companion object {
|
|
private const val POSTHOG_API_KEY = "<ph_project_api_key>"
|
|
private const val POSTHOG_HOST = "<ph_client_api_host>" // usually 'https://us.i.posthog.com' or 'https://eu.i.posthog.com'
|
|
}
|
|
|
|
override fun onCreate() {
|
|
super.onCreate()
|
|
val config = PostHogAndroidConfig(
|
|
apiKey = POSTHOG_API_KEY,
|
|
host = POSTHOG_HOST // TIP: host is optional if you use https://us.i.posthog.com
|
|
)
|
|
PostHogAndroid.setup(this, config)
|
|
}
|
|
}
|
|
```
|
|
|
|
To get your PostHog API key and host, [sign up to PostHog](https://us.posthog.com/signup). Then, you can find your API key and host in your [project settings](https://us.posthog.com/settings/project).
|
|
|
|
We now need to register our custom application class. Go to `app/manifests/AndroidManifest.xml` and add `android:name=".MyFeatureFlagsApplication"` within the `<application>` tag:
|
|
|
|
```XML file=app/manifests/AndroidManifest.xml
|
|
<?xml version="1.0" encoding="utf-8"?>
|
|
<manifest xmlns:android="http://schemas.android.com/apk/res/android"
|
|
xmlns:tools="http://schemas.android.com/tools">
|
|
<!-- ... rest of the config -->
|
|
<application
|
|
android:name=".MyFeatureFlagsApplication"
|
|
<!-- ... rest of the config -->
|
|
</application>
|
|
</manifest>
|
|
```
|
|
|
|
To check your setup, build and run your app. Click your button a few times. You should start seeing events in the [activity tab](https://us.posthog.com/events).
|
|
|
|
<ProductScreenshot
|
|
imageLight={EventsInPostHogLight}
|
|
imageDark={EventsInPostHogDark}
|
|
alt="Events captured in PostHog"
|
|
classes="rounded"
|
|
/>
|
|
|
|
## 3. Create a feature flag in PostHog
|
|
|
|
With PostHog set up, your app is ready for feature flags. To create one, go to the [feature flags tab](https://us.posthog.com/feature_flags) in PostHog and click **New feature flag**. Enter a flag key (like `my-cool-flag`), set the release condition to roll out to 100% of users, and press "Save."
|
|
|
|
<ProductScreenshot
|
|
imageLight={CreateFlagLight}
|
|
imageDark={CreateFlagDark}
|
|
alt="Feature flag created in PostHog"
|
|
classes="rounded"
|
|
/>
|
|
|
|
You can customize your [release conditions](/docs/feature-flags/creating-feature-flags#release-conditions) with rollout percentages, and [user](/docs/product-analytics/person-properties) or [group properties](/docs/product-analytics/group-analytics) to fit your needs.
|
|
|
|
## 4. Implement the flag code
|
|
|
|
To implement the feature flag, we:
|
|
|
|
1. Fetch the `my-cool-flag` flag using [`PostHog.isFeatureEnabled()`](/docs/libraries/android#feature-flags).
|
|
2. Change the background color of `SecondScreen` based on the value of the flag.
|
|
|
|
To do this, update the code in `MainActivity.kt` with the following:
|
|
|
|
```kt file=MainActivity.kt
|
|
import androidx.compose.runtime.LaunchedEffect
|
|
import com.posthog.PostHog
|
|
// ... [Rest of your imports and MainActivity code]
|
|
|
|
|
|
@Composable
|
|
fun SecondScreen() {
|
|
val isFlagEnabled = remember { mutableStateOf(false) }
|
|
|
|
// LaunchedEffect to call PostHog.isFeatureEnabled() once when the composable is initialized
|
|
LaunchedEffect(key1 = Unit) {
|
|
isFlagEnabled.value = PostHog.isFeatureEnabled("my-cool-flag")
|
|
}
|
|
|
|
val backgroundColor = if (isFlagEnabled.value) Color.Green else Color.Red
|
|
|
|
Surface(modifier = Modifier.fillMaxSize(), color = backgroundColor) {
|
|
// ... [rest of SecondScreen code remains unchanged]
|
|
}
|
|
}
|
|
|
|
// ... [rest of the file remains unchanged]
|
|
```
|
|
|
|
That's it! When you restart your app and click the button, you should see the green background color on the second screen.
|
|
|
|
## Further reading
|
|
|
|
- [How to set up session replays in Android](/tutorials/android-session-replay)
|
|
- [How to run A/B tests in Android](/tutorials/android-ab-tests)
|
|
- [How to set up analytics in Android](/tutorials/android-analytics)
|
|
- [How to set up remote config in Android](/tutorials/android-remote-config)
|
|
<NewsletterForm /> |