mirror of
https://github.com/BillyOutlast/posthog.com.git
synced 2026-02-05 03:41:21 +01:00
173 lines
5.5 KiB
Markdown
173 lines
5.5 KiB
Markdown
---
|
||
title: How to set up Python feature flags in Flask
|
||
date: 2023-09-05
|
||
author:
|
||
- ian-vanagas
|
||
showTitle: true
|
||
sidebar: Docs
|
||
tags:
|
||
- feature flags
|
||
---
|
||
|
||
Feature flags make it easy to conditionally run code and show content based on users or conditions. In this tutorial, we show how to create a basic Python Flask app, add PostHog, and set up [feature flags](/feature-flags) to conditionally show content in the app.
|
||
|
||
## Creating a Flask app and adding PostHog
|
||
|
||
To showcase feature flags, we use [Flask](https://flask.palletsprojects.com/), a Python web framework, to create an app. To start, we create a folder for our app named `flag-demo` and create a file named `hello.py` in that folder.
|
||
|
||
```bash
|
||
mkdir flag-demo
|
||
cd flag-demo
|
||
touch hello.py
|
||
```
|
||
|
||
Next, create a virtual environment named `venv` for our app, activate the virtual environment, and install Flask.
|
||
|
||
```bash
|
||
python3 -m venv venv
|
||
. venv/bin/activate
|
||
pip install Flask
|
||
```
|
||
|
||
In `hello.py`, create a home route that returns a basic "Hello, World!" and a `/user/<string:user>` route that returns the user string:
|
||
|
||
```python
|
||
# flag-demo/hello.py
|
||
from flask import Flask
|
||
|
||
app = Flask(__name__)
|
||
|
||
@app.route("/")
|
||
def hello_world():
|
||
return "<p>Hello, World!</p>"
|
||
|
||
@app.route("/user/<string:user>")
|
||
def show_user(user):
|
||
return f"<p>Hello, {user}!</p>"
|
||
```
|
||
|
||
Finally run `flask --app hello run` and go to `http://127.0.0.1:5000` to see your basic app running.
|
||
|
||
|
||
|
||
## Adding PostHog
|
||
|
||
Next, we install and set up PostHog using the [Python SDK](/docs/libraries/python).
|
||
|
||
```bash
|
||
pip install posthog
|
||
```
|
||
|
||
We initialize PostHog to our `hello.py` file using our project API key and instance address from [your project settings](https://app.posthog.com/project/settings). In our user route, we use PostHog to capture an event using the user string and set a person property of `initial_name` on that user.
|
||
|
||
```python
|
||
# flag-demo/hello.py
|
||
from flask import Flask
|
||
from posthog import Posthog
|
||
|
||
posthog = Posthog(
|
||
'<ph_project_api_key>',
|
||
host='<ph_client_api_host>'
|
||
)
|
||
|
||
app = Flask(__name__)
|
||
|
||
@app.route("/")
|
||
def hello_world():
|
||
return "<p>Hello, World!</p>"
|
||
|
||
@app.route("/user/<string:user>")
|
||
def show_user(user):
|
||
posthog.capture(
|
||
"visited_user_page",
|
||
distinct_id=user,
|
||
properties={
|
||
'$set_once': {'initial_name': user}
|
||
}
|
||
)
|
||
return f"<p>Hello, {user}!</p>"
|
||
```
|
||
|
||
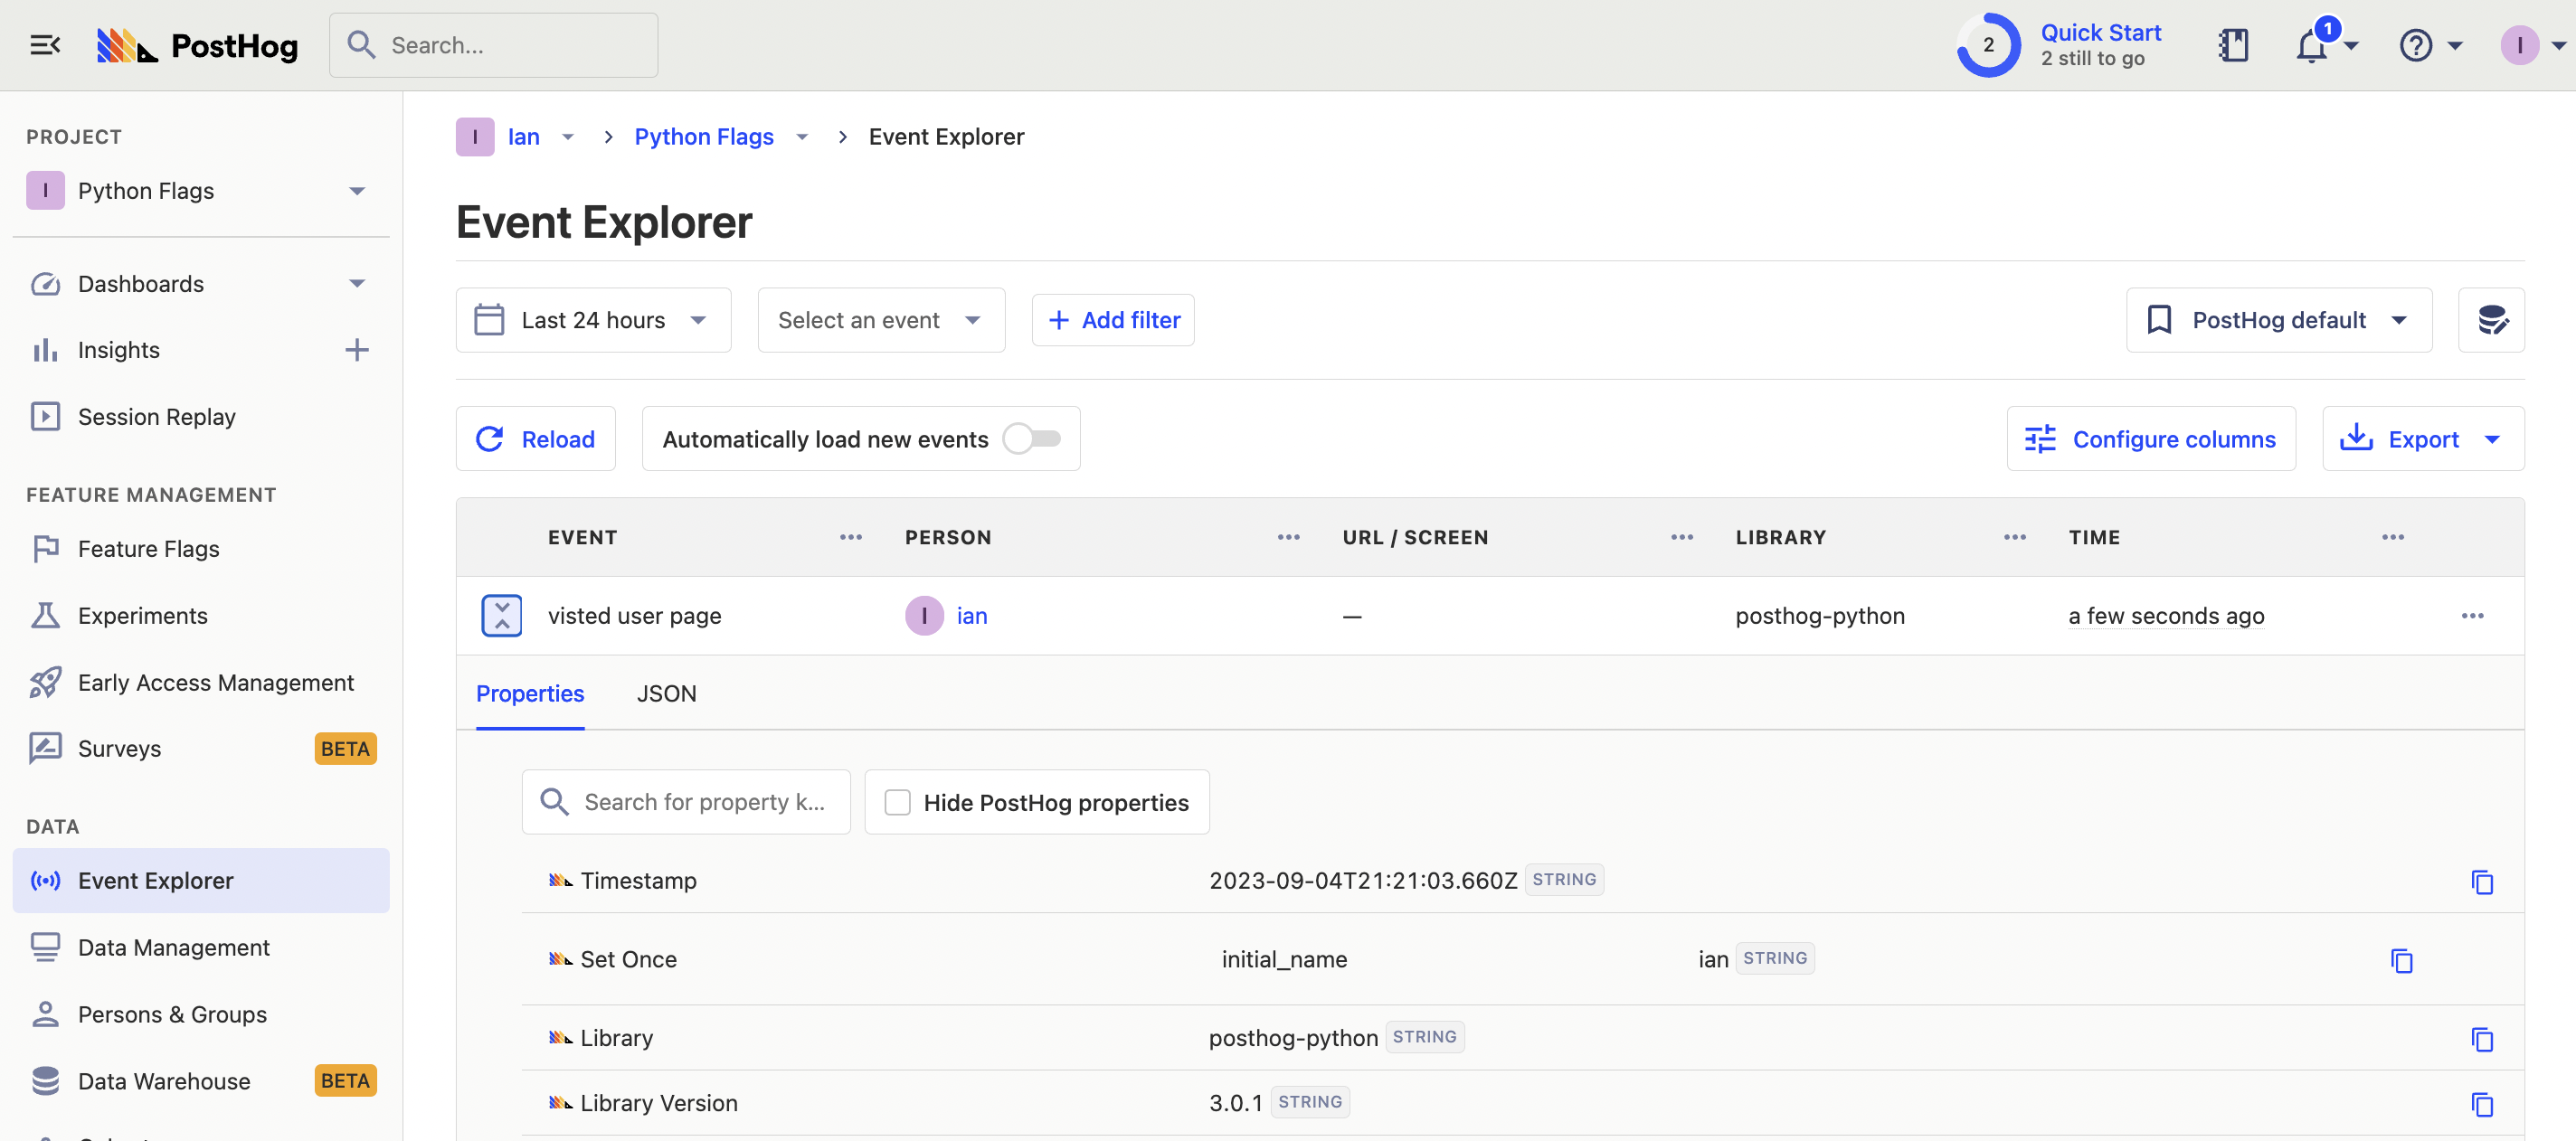
When we rerun `flask --app hello run` and go to the user route such as `http://127.0.0.1:5000/user/ian`, it captures an event in PostHog.
|
||
|
||
|
||
|
||
## Creating a feature flag
|
||
|
||
We are now ready to create and set up our flag. To do this, go to the [feature flag tab](https://app.posthog.com/feature_flags) in PostHog and click "New feature flag." Add a key (we use `new-cool-feature`), set the release condition to 50% of users, and add another condition set where `initial_name` is `ian` (or whatever URL you just visited). Add any other details and press "Save."
|
||
|
||

|
||
|
||
The second release condition enables us to test the active flag state by going to the `/user/ian` route first but is optional.
|
||
|
||
## Adding our feature flag
|
||
|
||
With our feature flag created in PostHog, it is time to implement it in our Flask app.
|
||
|
||
Back in our `user` route, we add a check with PostHog of our `new-cool-feature` flag. If it is true, we return a different `<p>` tag. If it isn’t, we return the same value as before.
|
||
|
||
```python
|
||
# ...
|
||
|
||
@app.route("/user/<string:user>")
|
||
def show_user(user):
|
||
flag_enabled = posthog.feature_enabled(
|
||
'new-cool-feature',
|
||
user
|
||
)
|
||
|
||
posthog.capture(
|
||
"visited_user_page",
|
||
distinct_id=user,
|
||
properties={
|
||
'$set_once': {'initial_name': user}
|
||
}
|
||
)
|
||
|
||
if flag_enabled:
|
||
return f"<p>Welcome, {user}! You are on the new cool page</p>"
|
||
|
||
return f"<p>Hello, {user}!</p>"
|
||
```
|
||
|
||
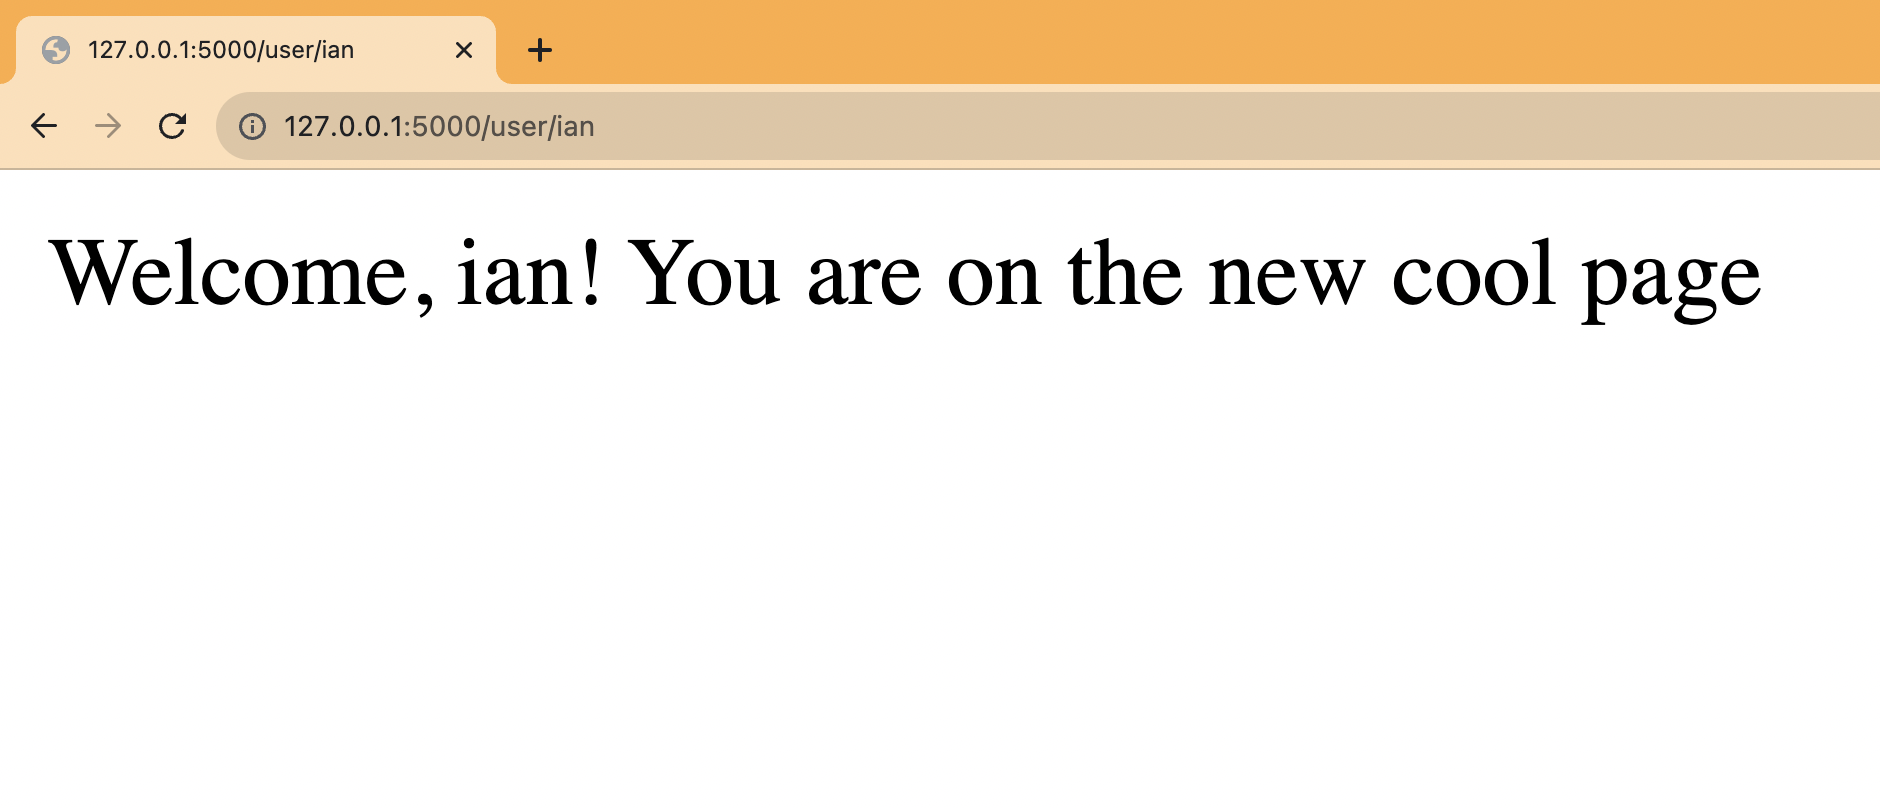
Since we visited `/user/ian` first, we get the new variant while 50% of the rest of the pages get it as well. If you want to customize this, edit your feature flag to add more conditions.
|
||
|
||
|
||
|
||
Lastly, we must capture the feature flag details in our event. This enables us to do usage analysis related to the flag later.
|
||
|
||
```python
|
||
# ...
|
||
|
||
@app.route("/user/<string:user>")
|
||
def show_user(user):
|
||
flag_enabled = posthog.feature_enabled(
|
||
'new-cool-feature',
|
||
user
|
||
)
|
||
|
||
posthog.capture(
|
||
"visited_user_page",
|
||
distinct_id=user,
|
||
properties={
|
||
'$set_once': {'initial_name': user},
|
||
'$feature/new-cool-feature': flag_enabled
|
||
}
|
||
)
|
||
|
||
if flag_enabled:
|
||
return f"<p>Welcome, {user}! You are on the new cool page</p>"
|
||
|
||
return f"<p>Hello, {user}!</p>"
|
||
```
|
||
|
||
This is the basic implementation of Python feature flags in Flask set up. From here, we can set up [A/B tests](/experiments), a [public beta program](/tutorials/public-beta-program), or [canary releases](/tutorials/canary-release).
|
||
|
||
## Further reading
|
||
|
||
- [How to set up analytics in Python and Flask](/tutorials/python-analytics)
|
||
- [How to set up A/B tests in Python and Flask](/tutorials/python-ab-testing)
|
||
- [How to do holdout testing](/tutorials/holdout-testing)
|
||
|
||
<NewsletterForm />
|