* Add posthog-js defaults to snippet examples

* Add defaults to install-web too

* Add some more defaults

* feat: Add `<ph_posthog_js_defaults>` everywhere

Everywhere where we're initializing `<ph_project_api_key>` now also initializes `<ph_posthog_js_defaults>`. A follow-up pass is needed to update `pageview` docs letting people know we're tracking these automatically now

* refactor(): Remove `ph_posthog_js_defaults` where we're not initing lib from beggining

We'll only include the `defaults` suggestion in places where we're explaining HOW we initialize posthog. When we're talking about a non-correlated config, then we'll omit it. The same applies to `api_host`

* refactor: Stop using `history_change` in most places

Rather than suggesting `history_change`, let's instead suggest using our new `defaults` feature

* add a space

* change next.js note

* Ian's fixes

---------

Co-authored-by: Rafa Audibert <rafael@posthog.com>
Co-authored-by: Ian Vanagas <34755028+ivanagas@users.noreply.github.com>
7.1 KiB
title, date, author, tags
| title | date | author | tags | ||
|---|---|---|---|---|---|
| How to set up A/B tests in Angular | 2024-01-23 |
|
|
import { ProductScreenshot } from 'components/ProductScreenshot' export const EventsInPostHogLight = "https://res.cloudinary.com/dmukukwp6/image/upload/posthog.com/contents/images/tutorials/angular-ab-tests/events-light.png" export const EventsInPostHogDark = "https://res.cloudinary.com/dmukukwp6/image/upload/posthog.com/contents/images/tutorials/angular-ab-tests/events-dark.png"
A/B tests help you make your Angular app better by enabling you to compare the impact of changes on key metrics. To show you how to set one up, we create a basic Angular app, add PostHog, create an A/B test, and implement the code for it.
1. Create an Angular app
First, ensure Node.js is installed (version 14.20.0 or newer). Then, install the Angular CLI and create a new Angular app:
npm install -g @angular/cli
ng new angular-ab-tests
Select CSS as your stylesheet and No for server side rendering and static site generation.
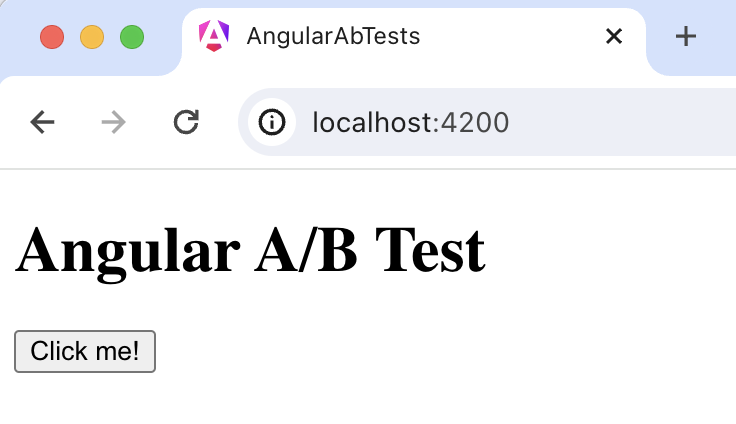
Next, Replace the code in src/app/app.component.html with a simple heading and button:
<div id="app">
  <h1>Angular A/B Test</h1>
  <button (click)="handleClick()">Click me!</button>
</div>
Then, edit the app.component.ts file to include the click handler:
import { Component } from '@angular/core';

@Component({
  selector: 'app-root',
  templateUrl: './app.component.html',
  styleUrls: ['./app.component.css'],
  standalone: true
})
export class AppComponent {
  handleClick() {
    // Event handling logic will go here
  }
}
Run ng serve and navigate to http://localhost:4200 to see your app in action.
2. Add PostHog to your Angular app
With our app set up, it’s time to install and set up PostHog. To start, install the JavaScript web SDK:
npm i posthog-js
In src/main.ts, initialize PostHog using your project API key and instance address. You can get both in your project settings.
import { bootstrapApplication } from '@angular/platform-browser';
import { appConfig } from './app/app.config';
import { AppComponent } from './app/app.component';
import posthog from 'posthog-js'

posthog.init('<ph_project_api_key>', {
  api_host:'<ph_client_api_host>',
  defaults: '<ph_posthog_js_defaults>'
})

bootstrapApplication(AppComponent, appConfig)
  .catch((err) => console.error(err));
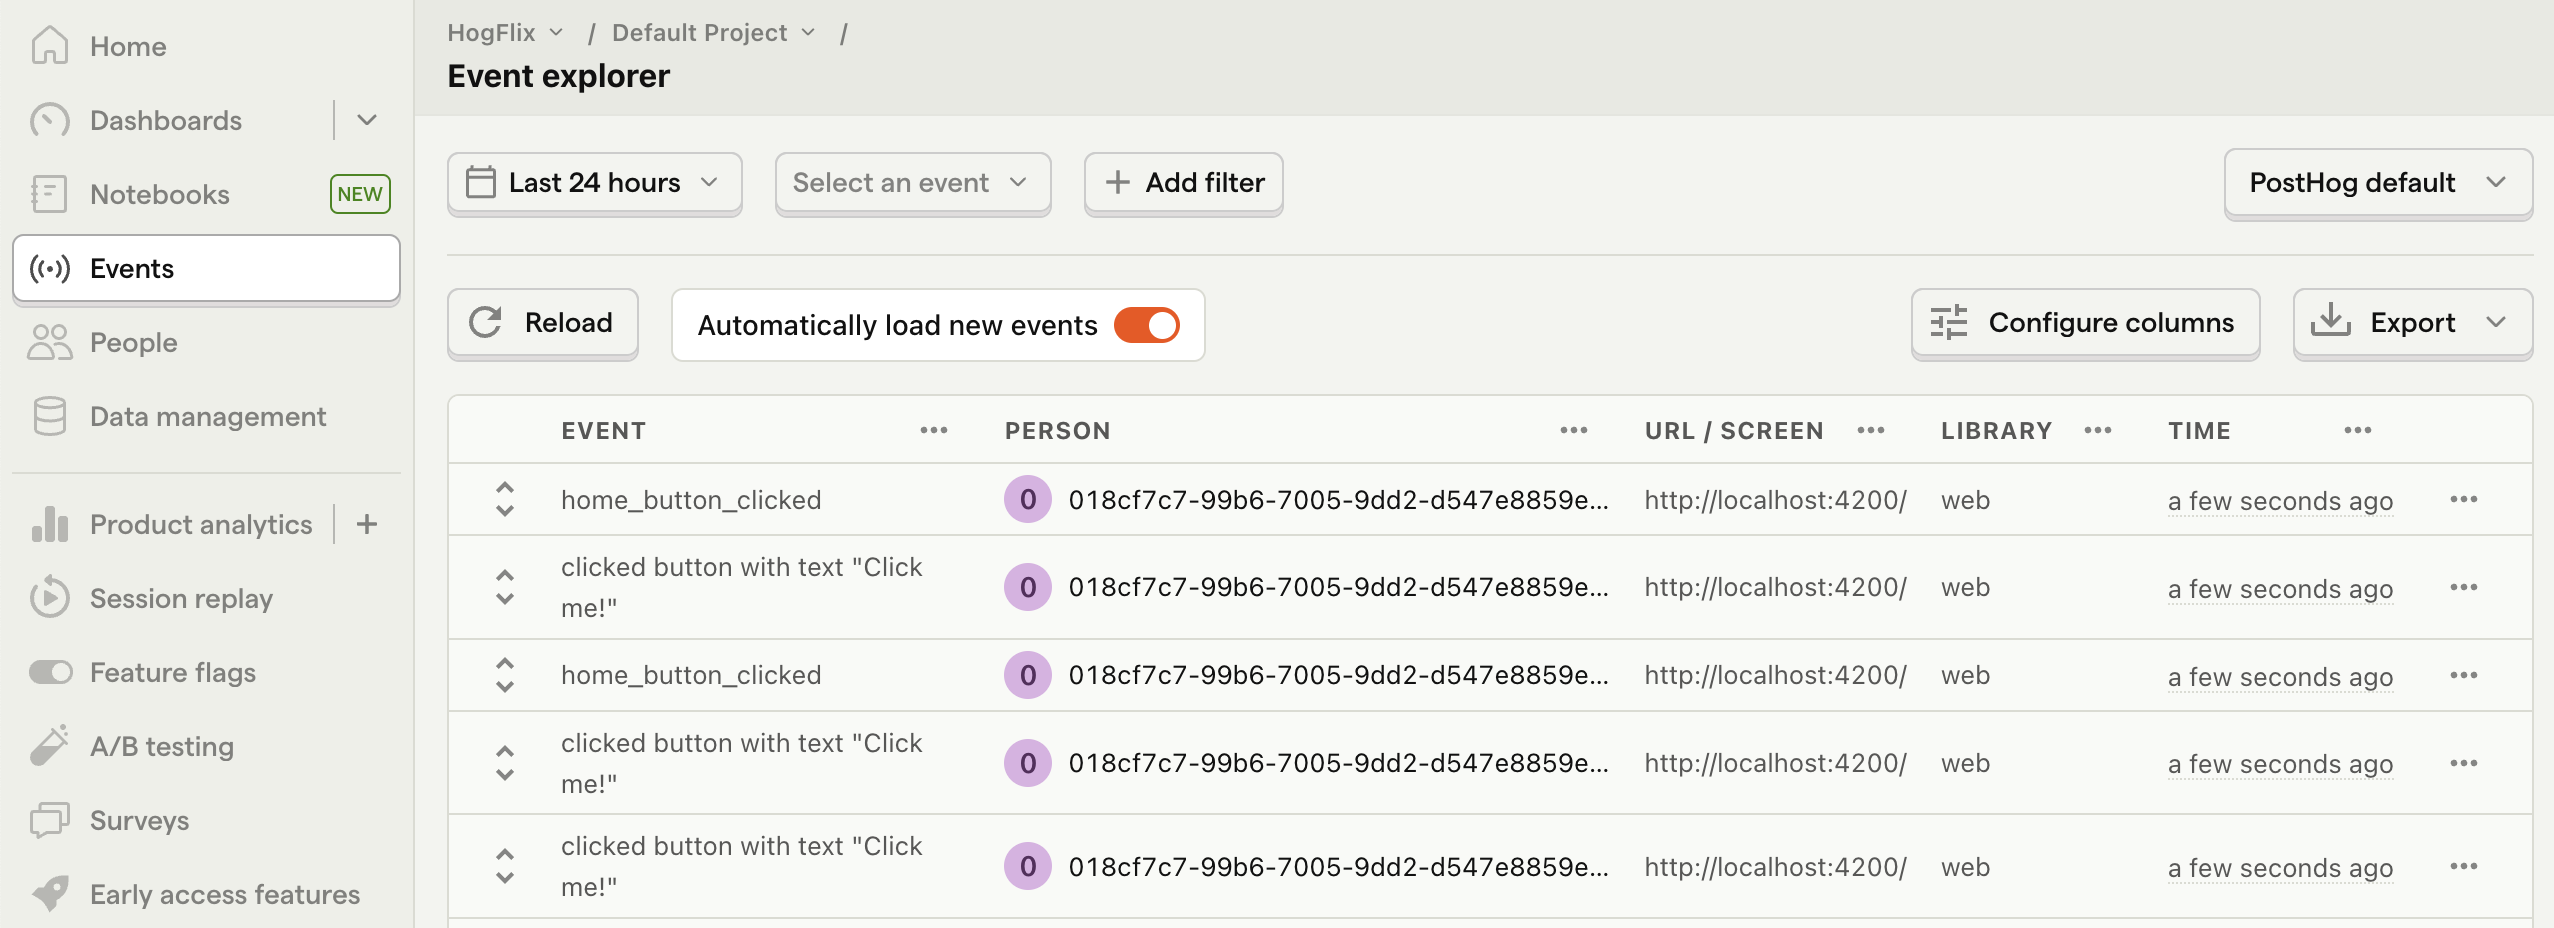
Once you’ve done this, reload your app and click the button a few times. You should see events appearing in the PostHog events explorer.
3. Capture a custom event
The first part of setting up our A/B test in PostHog is setting up the goal metric. We'll use the number of clicks on the button as our goal.
To measure this, we capture a custom event home_button_clicked when the button is clicked. To do this, import posthog-js into app.component.ts and capture an event in handleClick():
import { Component } from '@angular/core';
import posthog from 'posthog-js'

@Component({
 // existing component code
})
export class AppComponent {
  handleClick() {
    posthog.capture(
      'home_button_clicked',
    )
  }
}
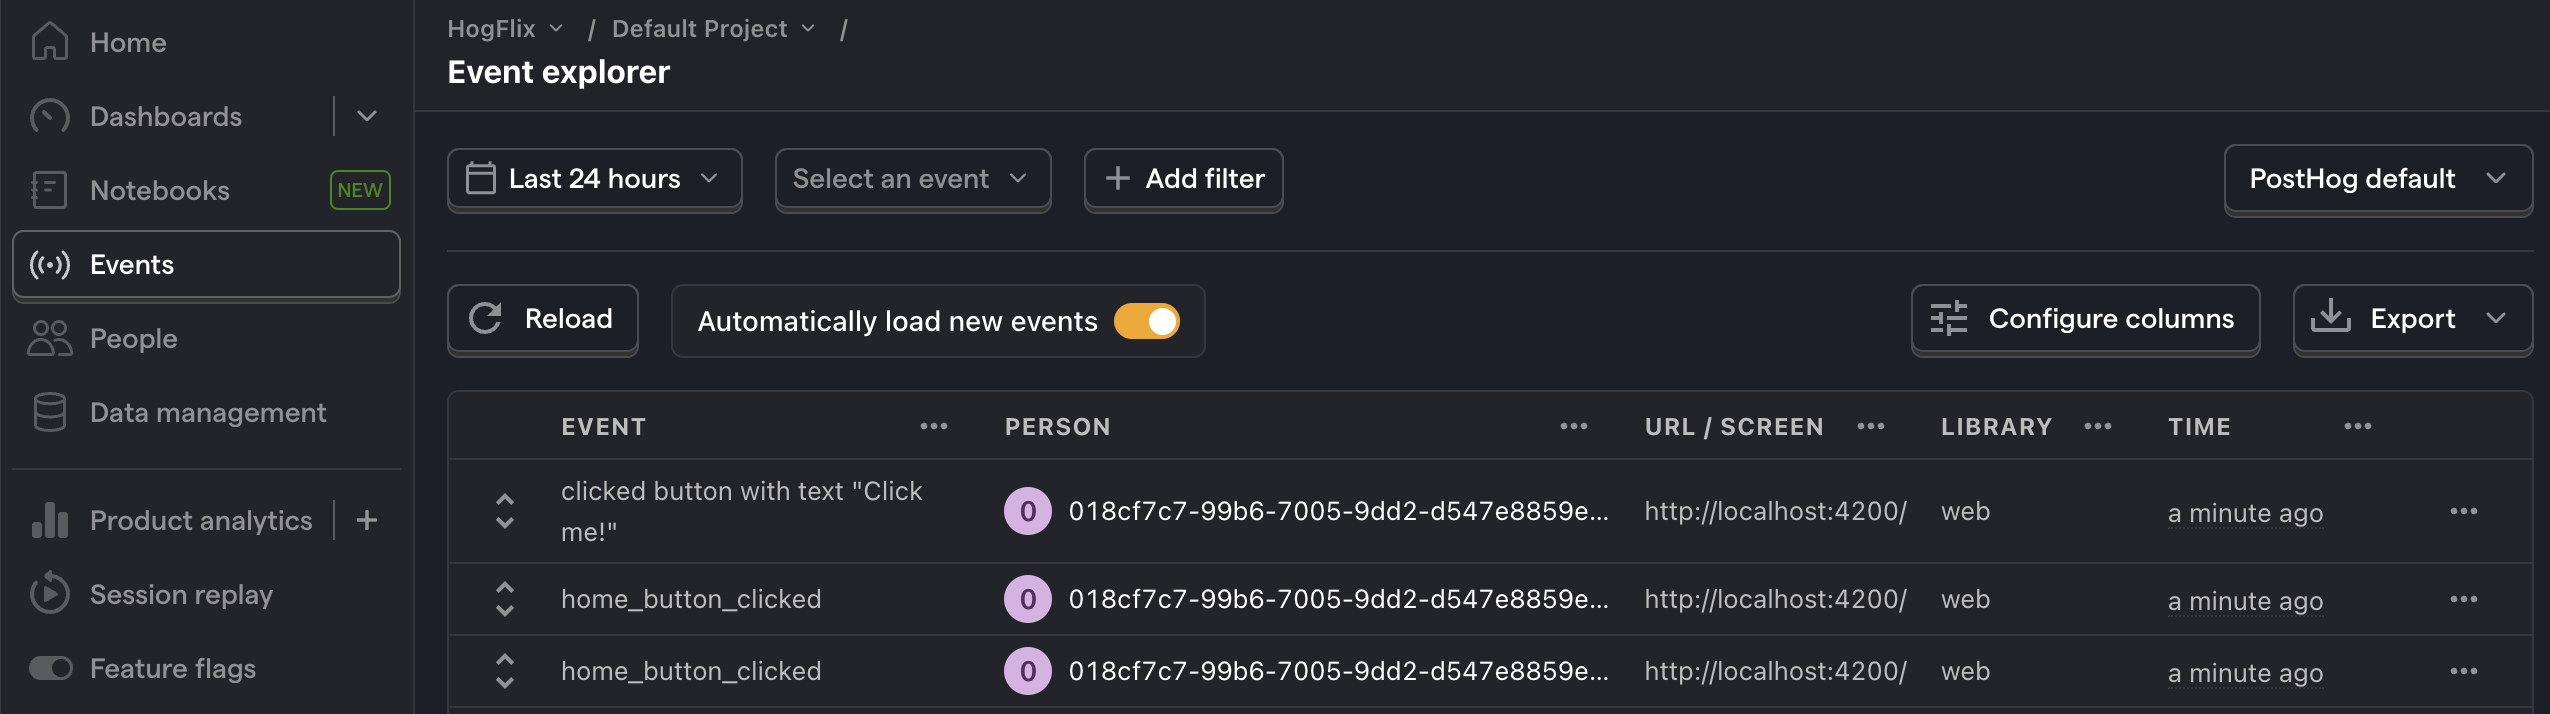
With this set up, refresh your app and click the button a few times to see the event captured in PostHog.
3. Create an A/B test in PostHog
Next, go to the A/B testing tab and create an A/B test by clicking the New experiment button. Add the following details to your experiment:
- Name it "My cool experiment".
- Set "Feature flag key" to
my-cool-experiment. - Use the default values for all other fields.
- Click Save as draft.
Once created, set the primary metric to a trend of home_button_clicked and then click Launch.
4. Implement the A/B test code
To implement the A/B test, we fetch the my-cool-experiment feature flag and update the button text based on whether the user is in the control or test variant of the experiment.
To do this, update your code in app.component.ts to use the ngOnInit lifecycle hook to implement the posthog.onFeatureFlags callback. Then, we'll update the button text using ChangeDetectorRef:
import { Component, ChangeDetectorRef } from '@angular/core';
import posthog from 'posthog-js'

@Component({
  selector: 'app-root',
  templateUrl: './app.component.html',
  styleUrls: ['./app.component.css'],
  standalone: true
})
export class AppComponent {
  constructor(private changeDetector: ChangeDetectorRef) {}

  buttonText = 'No variant';

  ngOnInit() {
    posthog.onFeatureFlags(() => {
      console.log(posthog.getFeatureFlag('my-cool-experiment'))
      if (posthog.getFeatureFlag('my-cool-experiment') === 'control') {
        this.buttonText = 'Control variant';
      } else if (posthog.getFeatureFlag('my-cool-experiment') === 'test') {
        this.buttonText = 'Test variant';
      }
      this.changeDetector.detectChanges();
    });
  }

  handleClick() {
    // rest of your code
  }
}
Lastly, update app.component.html to use the buttonText state variable.
<div id="app">
  <h1>Angular A/B Test</h1>
  <button (click)="handleClick()">{{ buttonText }}</button>
</div>
Now if you refresh your app, you should see the button text updated to either Control variant or Test variant.
With this, you’re ready to launch your A/B test! PostHog will randomly split your users into the each variant and track whether it has an impact on the button click-through rate. You can view your test results on the experiment page in PostHog.
💡 PostHog Tip: You may notice the button text "flicker" while the page loads and PostHog fetches the feature flag. To fix this, you can bootstrap the flag value.