mirror of
https://github.com/BillyOutlast/posthog.com.git
synced 2026-02-05 20:01:20 +01:00
231 lines
7.7 KiB
Markdown
231 lines
7.7 KiB
Markdown
---
|
||
title: How to set up Python A/B testing
|
||
date: 2023-09-12
|
||
author:
|
||
- ian-vanagas
|
||
showTitle: true
|
||
featuredVideo: https://www.youtube-nocookie.com/embed/1QhMvLs27yk
|
||
sidebar: Docs
|
||
tags:
|
||
- experimentation
|
||
- feature flags
|
||
---
|
||
|
||
A/B testing enables you to experiment with how changes to your app affect metrics you care about. PostHog makes it easy to set up [A/B tests](/experiments) in Python. This tutorial shows you how to create a basic Python app with Flask, add PostHog to it, and then set up an A/B test to compare button variants.
|
||
|
||
## Creating a basic Flask app
|
||
|
||
To demonstrate how to implement A/B testing, we'll create an app using [Flask](https://flask.palletsprojects.com/), a Python web framework.
|
||
|
||
To start, create a folder for our app named `ab-test-demo` and a file named `hello.py` in that folder.
|
||
|
||
```bash
|
||
mkdir ab-test-demo
|
||
cd ab-test-demo
|
||
touch hello.py
|
||
```
|
||
|
||
Next, create a virtual environment named `venv` for our app, activate the virtual environment, and install Flask.
|
||
|
||
```bash
|
||
python3 -m venv venv
|
||
. venv/bin/activate
|
||
pip install Flask
|
||
```
|
||
|
||
In `hello.py`, create a home route returning a basic "Hello, World!"
|
||
|
||
```python
|
||
# ab-test-demo/hello.py
|
||
from flask import Flask
|
||
|
||
app = Flask(__name__)
|
||
|
||
@app.route("/")
|
||
def hello_world():
|
||
return "<p>Hello, World!</p>"
|
||
```
|
||
|
||
Afterward, create a `/blog/<string:slug>` route that returns a response with a "Like" button. Add `POST` handler to the route that returns a confirmation when clicked.
|
||
|
||
```python
|
||
# ab-test-demo/hello.py
|
||
from flask import Flask, request, make_response
|
||
|
||
# ... app, hello_world()
|
||
|
||
@app.route("/blog/<string:slug>", methods=["GET", "POST"])
|
||
def blog(slug):
|
||
|
||
response = make_response()
|
||
|
||
if request.method == "GET":
|
||
response.data = f"""
|
||
<p>Welcome to the blog post: {slug}</p>
|
||
<form method="post" action="/blog/{slug}">
|
||
<input type="submit" value="Like" name="like"/>
|
||
</form>
|
||
"""
|
||
return response
|
||
elif request.method == "POST":
|
||
return f"<p>Thanks for liking {slug}</p>"
|
||
```
|
||
|
||
Finally run `flask --app hello run` and go to `http://127.0.0.1:5000` to see your basic app running.
|
||
|
||
|
||
|
||
## Setting up PostHog
|
||
|
||
Next, we install PostHog [Python SDK](/docs/libraries/python) and the `uuid` package to generate user IDs.
|
||
|
||
```bash
|
||
pip install posthog uuid
|
||
```
|
||
|
||
We import both into our `hello.py` file then use your project API key and instance address from [your project settings](https://app.posthog.com/project/settings) to initialize a PostHog client.
|
||
|
||
```python
|
||
# ab-test-demo/hello.py
|
||
from flask import Flask, request, make_response
|
||
from posthog import Posthog
|
||
import uuid
|
||
|
||
posthog = Posthog(
|
||
'<ph_project_api_key>',
|
||
host='<ph_client_api_host>'
|
||
)
|
||
|
||
# ... app, hello_world(), blog()
|
||
```
|
||
|
||
In our `blog` route, set up a UUID user ID using a cookie. If the user ID doesn't exist, we generate a new one and set it as a cookie. If it does, we get it from the cookie. We use this UUID from the cookie for targeting our A/B test.
|
||
|
||
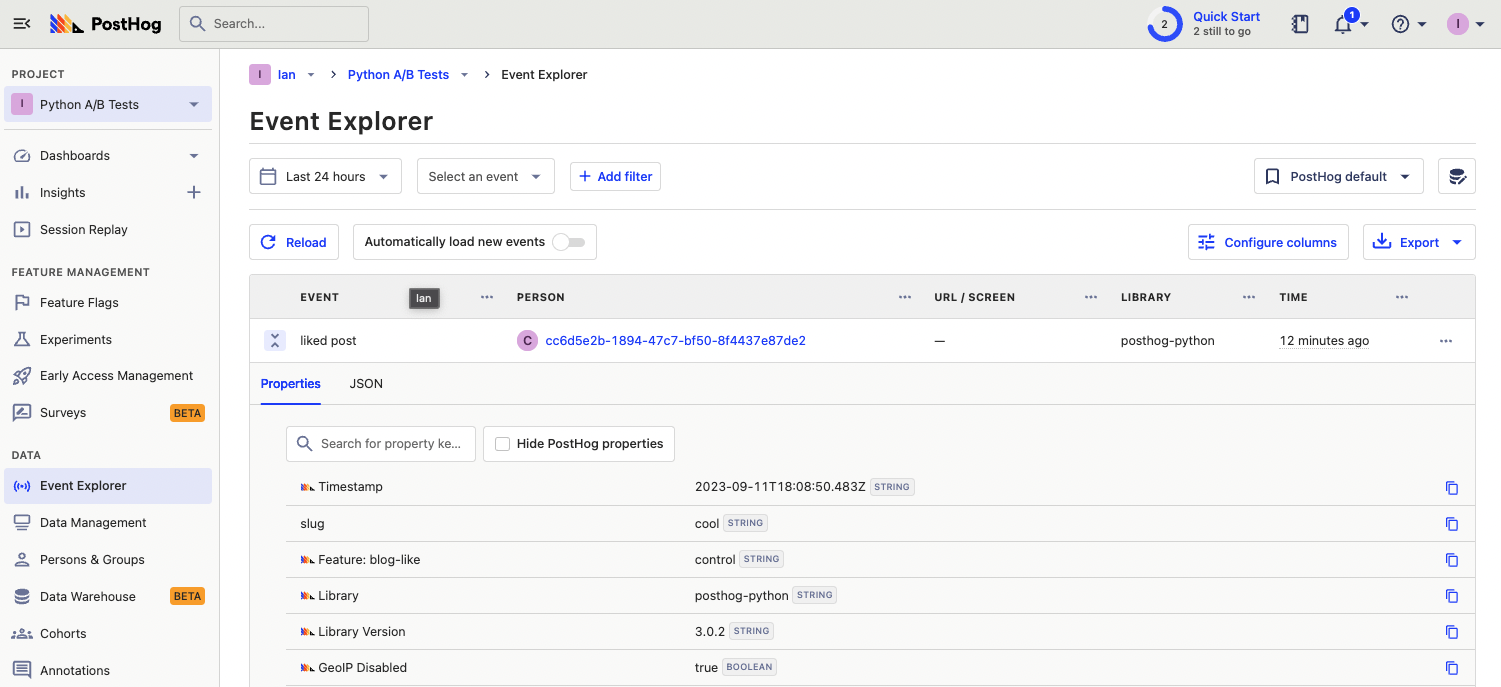
With this `user_id` value, we then use PostHog to capture a "liked post" event with a `slug` property.
|
||
|
||
```python
|
||
# ... posthog, app, hello_world()
|
||
|
||
@app.route("/blog/<string:slug>", methods=["GET", "POST"])
|
||
def blog(slug):
|
||
|
||
response = make_response()
|
||
|
||
if 'user_id' not in request.cookies:
|
||
user_id = str(uuid.uuid4())
|
||
response.set_cookie('user_id', user_id)
|
||
else:
|
||
user_id = request.cookies.get('user_id')
|
||
|
||
if request.method == "GET":
|
||
response.data = f"""
|
||
<p>Welcome to the blog post: {slug}</p>
|
||
<form method="post" action="/blog/{slug}">
|
||
<input type="submit" value="Like" name="like"/>
|
||
</form>
|
||
"""
|
||
return response
|
||
elif request.method == "POST":
|
||
posthog.capture(
|
||
"liked_post",
|
||
distinct_id=user_id,
|
||
properties={
|
||
'slug': slug
|
||
}
|
||
)
|
||
return f"<p>Thanks for liking {slug}</p>"
|
||
```
|
||
|
||
Rerun your app with `flask --app hello run`, go to a blog route like `http://127.0.0.1:5000/cool`, click the like button, and you see an event captured in PostHog.
|
||
|
||
|
||
|
||
## Creating an A/B test
|
||
|
||
We are now ready to create and set up our A/B test. To do this, go to the [experiments tab](https://app.posthog.com/experiments) in PostHog and click "New experiment."
|
||
|
||
Enter a name, feature flag key (we use `blog-like`), edit any more details, and click **Save as draft**. Set the primary metric to a trend of the "liked post" event and then click **Launch**.
|
||
|
||
<ProductScreenshot
|
||
imageLight="https://res.cloudinary.com/dmukukwp6/image/upload/Clean_Shot_2025_01_16_at_09_39_30_2x_a436c75796.png"
|
||
imageDark="https://res.cloudinary.com/dmukukwp6/image/upload/Clean_Shot_2025_01_16_at_09_39_11_2x_c1a2392612.png"
|
||
alt="Experiment setup in PostHog"
|
||
classes="rounded"
|
||
/>
|
||
|
||
## Implementing our A/B test
|
||
|
||
With the A/B test created, we can now implement it in our Flask app.
|
||
|
||
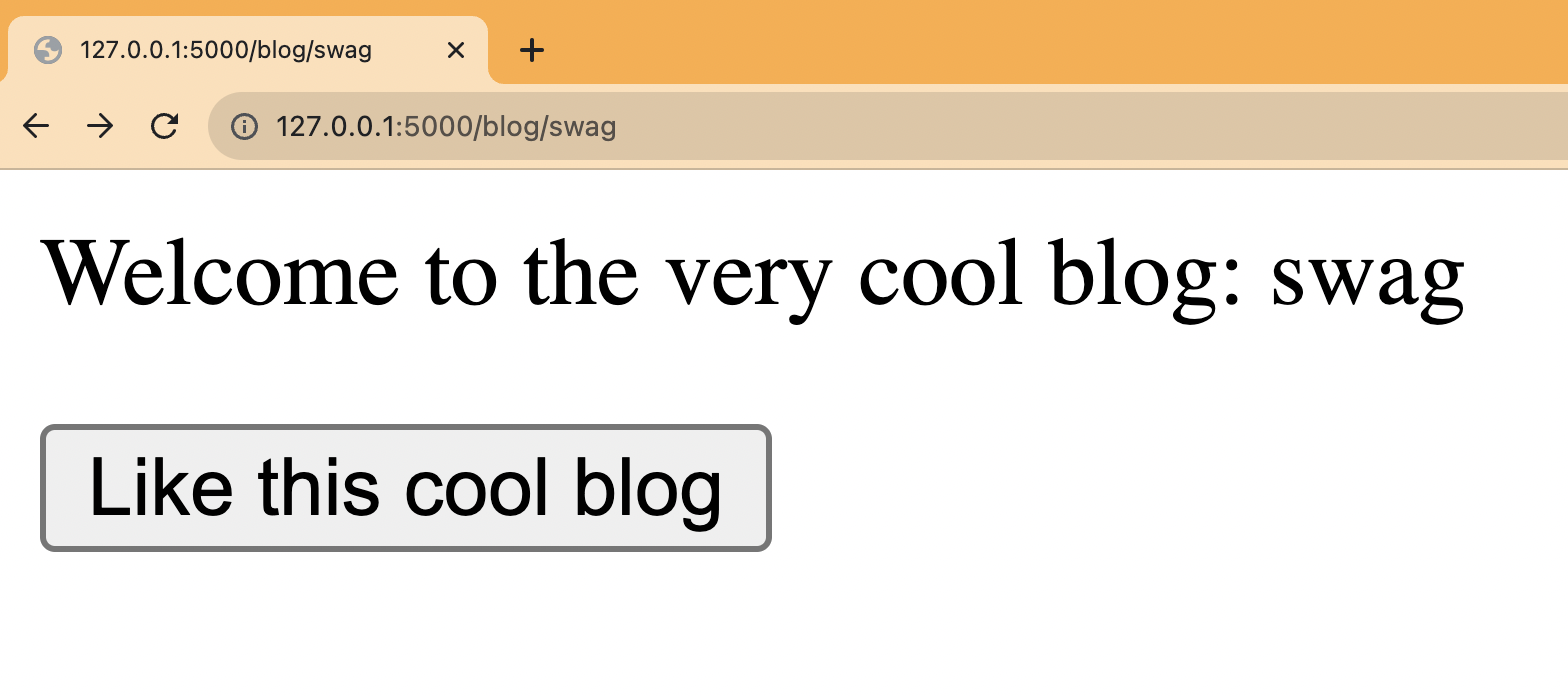
Back in our blog route, add a check with PostHog of the `blog-like` flag using the `user_id`. If it returns `test`, we return a new button component. If not, return the same component as before.
|
||
|
||
```python
|
||
# ab-test-demo/hello.py
|
||
|
||
# ... posthog, flask, hello_world()
|
||
|
||
@app.route("/blog/<string:slug>", methods=["GET", "POST"])
|
||
def blog(slug):
|
||
|
||
response = make_response()
|
||
|
||
if 'user_id' not in request.cookies:
|
||
user_id = str(uuid.uuid4())
|
||
response.set_cookie('user_id', user_id)
|
||
else:
|
||
user_id = request.cookies.get('user_id')
|
||
|
||
flag_key = "blog-like"
|
||
flag = posthog.get_feature_flag(flag_key, user_id)
|
||
|
||
if request.method == "GET":
|
||
if (flag == 'test'):
|
||
response.data = f"""
|
||
<p>Welcome to the very cool blog: {slug}</p>
|
||
<form method="post" action="/blog/{slug}">
|
||
<input type="submit" value="Like this cool blog" name="like"/>
|
||
</form>
|
||
"""
|
||
return response
|
||
|
||
response.data = f"""
|
||
<p>Welcome to the blog post: {slug}</p>
|
||
<form method="post" action="/blog/{slug}">
|
||
<input type="submit" value="Like" name="like"/>
|
||
</form>
|
||
"""
|
||
return response
|
||
# ... elif
|
||
```
|
||
|
||
Restart your app and check a few pages for the new component. You can also add an [optional override](/docs/feature-flags/testing#method-1-assign-a-user-a-specific-flag-value) to your feature flag to show a value to users with specific properties (like `intial_slug` if you set that up).
|
||
|
||
|
||
|
||
Lastly, we must capture the experiment details in our event. Do this by adding `$feature/blog-like` with the variant key to the `liked post` event’s properties. This enables us to track and analyze our new button’s impact on our goal metric.
|
||
|
||
```python
|
||
# ... posthog, flask, hello_world(), blog GET
|
||
elif request.method == "POST":
|
||
posthog.capture(
|
||
"liked_post",
|
||
distinct_id=user_id,
|
||
properties={
|
||
'slug': slug,
|
||
f'$feature/{flag_key}': flag
|
||
|
||
}
|
||
)
|
||
return f"<p>Thanks for liking {slug}</p>"
|
||
```
|
||
|
||
This is a basic implementation of Python A/B testing in Flask set up. From here, you can customize your implementation to your needs and do [experiments without flags](/docs/experiments/running-experiments-without-feature-flags), [A/B/n tests](/tutorials/abn-testing), or [holdout tests](/tutorials/holdout-testing).
|
||
|
||
## Further reading
|
||
|
||
- [A software engineer's guide to A/B testing](/blog/ab-testing-guide-for-engineers)
|
||
- [How to set up analytics in Python and Flask](/tutorials/python-analytics)
|
||
- [How to set up feature flags in Python and Flask](/tutorials/python-feature-flags)
|
||
|
||
<NewsletterForm />
|