mirror of
https://github.com/BillyOutlast/posthog.com.git
synced 2026-02-05 03:41:21 +01:00
193 lines
6.3 KiB
Markdown
193 lines
6.3 KiB
Markdown
---
|
|
title: How to set up React A/B testing
|
|
date: 2025-03-07
|
|
author:
|
|
- ian-vanagas
|
|
showTitle: true
|
|
sidebar: Docs
|
|
tags:
|
|
- experimentation
|
|
---
|
|
|
|
A/B tests help you make your React app better by comparing changes for their impact on key metrics. To show you how to set one up, we will create a basic React app with Vite, add PostHog, create an experiment, and implement it to A/B test content in our app.
|
|
|
|
## Creating a React app with Vite
|
|
|
|
First, create our React app using Vite and go into the newly created `react-ab-test` folder.
|
|
|
|
```bash
|
|
npm create vite@latest react-ab-test -- --template react
|
|
cd react-ab-test
|
|
npm install
|
|
```
|
|
|
|
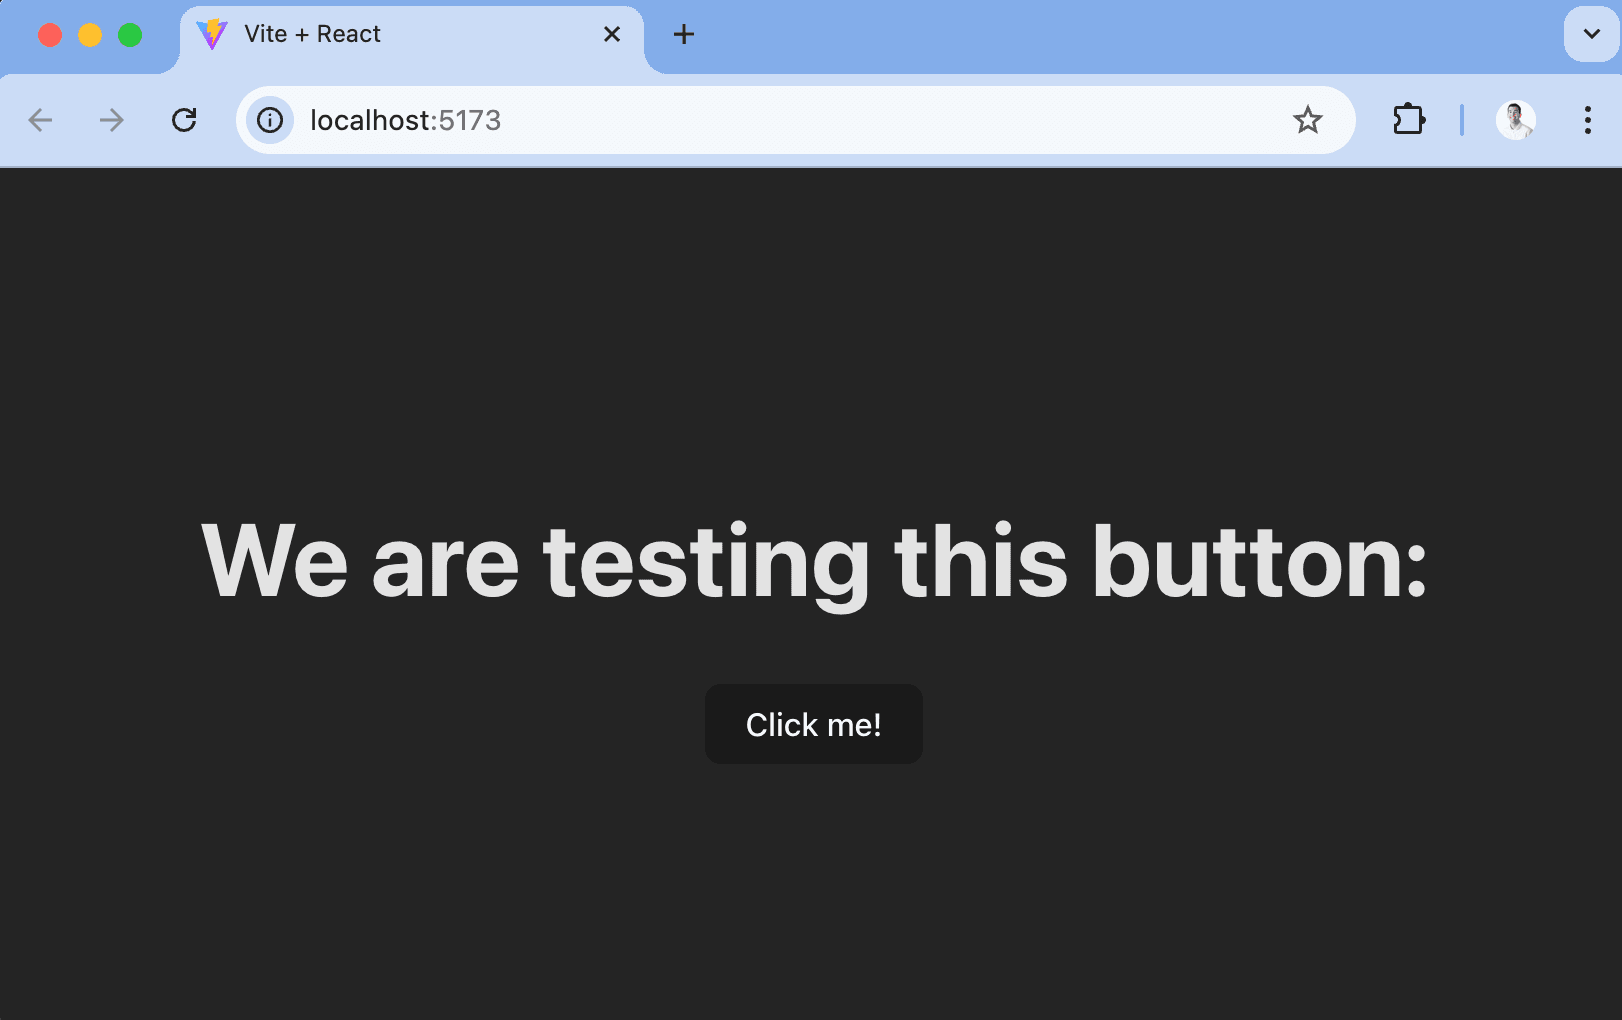
Next, remove the boilerplate code in `src/App.jsx` to simplify it to only a title and button we encourage users to press.
|
|
|
|
```jsx
|
|
// src/App.jsx
|
|
import './App.css'
|
|
|
|
function App() {
|
|
return (
|
|
<div className="App">
|
|
<h1>We are testing this button:</h1>
|
|
<button>Click me!</button>
|
|
</div>
|
|
)
|
|
}
|
|
|
|
export default App
|
|
```
|
|
|
|
Finally, run `npm run dev` and go to `http://localhost:5173/` to see our new homepage.
|
|
|
|
|
|
|
|
## Adding PostHog
|
|
|
|
To use PostHog to manage and track our A/B test, we must install and set it up. We do this by installing the `posthog-js` and `@posthog/react` libraries to get access to the [React SDK](/docs/libraries/react).
|
|
|
|
```bash
|
|
npm install posthog-js @posthog/react
|
|
```
|
|
|
|
Once installed, import PostHog into `src/main.jsx` and set up a client using our project API key and host from [your project settings](https://us.posthog.com/settings/project).
|
|
|
|
We can then initialize PostHog and wrap our app in the React `PostHogProvider` to access PostHog in any component.
|
|
|
|
```jsx
|
|
// src/main.jsx
|
|
import React from 'react'
|
|
import ReactDOM from 'react-dom/client'
|
|
import './index.css'
|
|
import App from './App.jsx'
|
|
import posthog from 'posthog-js'
|
|
import { PostHogProvider } from '@posthog/react'
|
|
|
|
posthog.init(
|
|
<ph_project_api_key>,
|
|
{
|
|
api_host: <ph_client_api_host>,
|
|
}
|
|
)
|
|
|
|
ReactDOM.createRoot(document.getElementById('root')).render(
|
|
<React.StrictMode>
|
|
<PostHogProvider client={posthog}>
|
|
<App />
|
|
</PostHogProvider>
|
|
</React.StrictMode>
|
|
)
|
|
```
|
|
|
|
Use the React `usePostHog` hook in our `src/App.jsx` file to capture a custom event when the button is clicked. This will be the goal metric for our A/B test.
|
|
|
|
```jsx
|
|
// src/App.jsx
|
|
import './App.css'
|
|
import { usePostHog } from '@posthog/react'
|
|
|
|
function App() {
|
|
const posthog = usePostHog()
|
|
|
|
const handleClick = () => {
|
|
posthog.capture('button clicked')
|
|
}
|
|
|
|
return (
|
|
<div className="App">
|
|
<h1>We are testing this button:</h1>
|
|
<button onClick={handleClick}>Click me!</button>
|
|
</div>
|
|
)
|
|
}
|
|
|
|
export default App
|
|
```
|
|
|
|
Once done, go back to your app, click the button, and you should see a `button clicked` event captured into your PostHog instance.
|
|
|
|
<ProductScreenshot
|
|
imageLight="https://res.cloudinary.com/dmukukwp6/image/upload/Clean_Shot_2025_03_06_at_13_00_31_2x_adda4ca03d.png"
|
|
imageDark="https://res.cloudinary.com/dmukukwp6/image/upload/Clean_Shot_2025_03_06_at_13_00_54_2x_ace8c5b716.png"
|
|
alt="Button clicked event in PostHog"
|
|
classes="rounded"
|
|
/>
|
|
|
|
## Creating an experiment
|
|
|
|
With PostHog set up, your React app is ready for the A/B test.
|
|
|
|
To create one, go to the [experiments tab](https://app.posthog.com/experiments) in PostHog and click **New experiment**. Add a name, feature flag key (like `home-button-test`), choose **product experiment**, **person** participant type, and press **Save as draft**.
|
|
|
|
<ProductScreenshot
|
|
imageLight="https://res.cloudinary.com/dmukukwp6/image/upload/Clean_Shot_2025_03_06_at_14_20_28_2x_79b88659d8.png"
|
|
imageDark="https://res.cloudinary.com/dmukukwp6/image/upload/Clean_Shot_2025_03_06_at_14_20_00_2x_bd4b791b81.png"
|
|
alt="Creating an experiment in PostHog"
|
|
classes="rounded"
|
|
/>
|
|
|
|
On the detail page, scroll down and click **Add primary metric**, choose **single-use**, **trend** metric type, and then select the `button clicked` event.
|
|
|
|
<ProductScreenshot
|
|
imageLight="https://res.cloudinary.com/dmukukwp6/image/upload/Clean_Shot_2025_03_06_at_14_25_12_2x_69d426ad57.png"
|
|
imageDark="https://res.cloudinary.com/dmukukwp6/image/upload/Clean_Shot_2025_03_06_at_14_25_35_2x_635b4f14c1.png"
|
|
alt="Setting up experiment metrics in PostHog"
|
|
classes="rounded"
|
|
/>
|
|
|
|
You can customize it further with a description, secondary metrics, or more variants (for [multivariate testing](/product-engineers/what-is-multivariate-testing-examples)).
|
|
|
|
## Implementing the experiment
|
|
|
|
With our experiment created, it's time to add it to our React app. To do this, check the `home-button-test` flag using the `useFeatureFlagVariantKey` hook and show our changed content if it returns the value "test."
|
|
|
|
```jsx
|
|
// src/App.jsx
|
|
import './App.css'
|
|
import { useFeatureFlagVariantKey, usePostHog } from '@posthog/react'
|
|
|
|
function App() {
|
|
const posthog = usePostHog()
|
|
const flagValue = useFeatureFlagVariantKey('home-button-test')
|
|
|
|
const handleClick = () => {
|
|
posthog.capture('button clicked')
|
|
}
|
|
|
|
return (
|
|
<div className="App">
|
|
<h1>We are testing this button:</h1>
|
|
{flagValue === 'test' ? (
|
|
<button onClick={handleClick}>Sign up for free!</button>
|
|
) : (
|
|
<button onClick={handleClick}>Click me!</button>
|
|
)}
|
|
</div>
|
|
)
|
|
}
|
|
|
|
export default App
|
|
```
|
|
|
|
> Alternatively, you can use the **React feature component** as shown in the [How to set up React feature flags](/tutorials/react-feature-flags#using-the-posthog-feature-component) tutorial.
|
|
|
|
To test that it works, temporarily override the feature flag with the test value in your App component:
|
|
|
|
```jsx
|
|
//...
|
|
// Add this line to test the variant, then remove it before going to production
|
|
posthog.featureFlags.overrideFeatureFlags({'home-button-test': 'test'})
|
|
const flagValue = useFeatureFlagVariantKey('home-button-test')
|
|
//...
|
|
```
|
|
|
|
After confirming both sides of the A/B test work, remove the `featureFlags.override` call, go back to your experiment in PostHog, and click **Launch**. The A/B test is then running to get results on which version is best.
|
|
|
|
## Further reading
|
|
|
|
- [How to bootstrap feature flags in React with Vite and Express](/tutorials/bootstrap-feature-flags-react)
|
|
- [How to do holdout testing](/tutorials/holdout-testing)
|
|
- [How to set up analytics in React](/tutorials/react-analytics)
|
|
|
|
<NewsletterForm /> |