mirror of
https://github.com/BillyOutlast/posthog.com.git
synced 2026-02-05 03:41:21 +01:00
177 lines
5.0 KiB
Markdown
177 lines
5.0 KiB
Markdown
---
|
|
title: How to set up analytics in React
|
|
date: 2025-03-07
|
|
author:
|
|
- lior-neu-ner
|
|
tags:
|
|
- product analytics
|
|
---
|
|
|
|
[Product analytics](/product-analytics) enables you to gather and analyze data about how users interact with your React app. To show you how to set up analytics, in this tutorial we create a basic React app with Vite, add PostHog, and use it to capture pageviews and custom events.
|
|
|
|
## Creating a React app with Vite
|
|
|
|
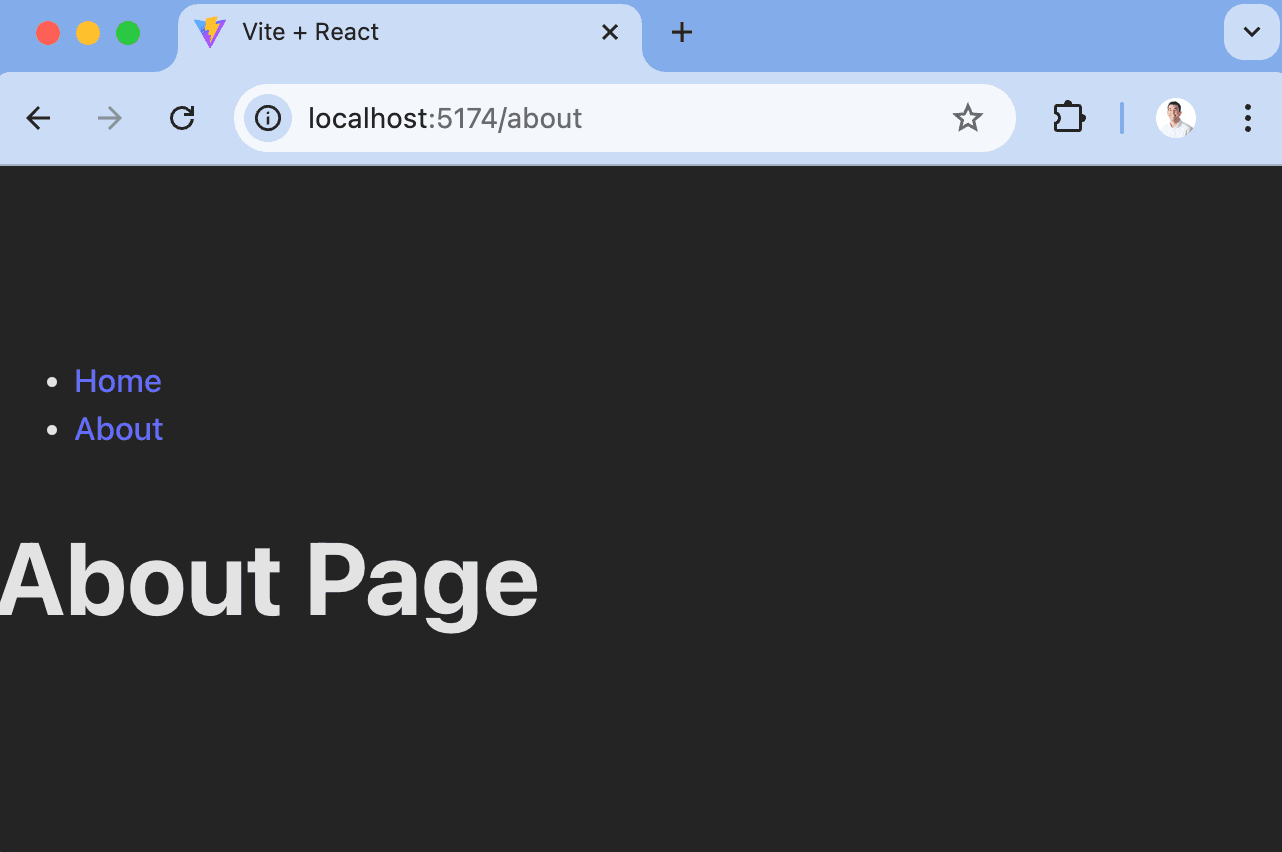
To demonstrate the basics of PostHog analytics, we'll create a simple app with two pages and a link to navigate between them.
|
|
|
|
First, ensure [Node.js is installed](https://nodejs.dev/en/learn/how-to-install-nodejs/) (version 20.0 or newer). Then create a new React app with Vite:
|
|
|
|
```bash
|
|
npm create vite@latest react-analytics -- --template react
|
|
cd react-analytics
|
|
npm install
|
|
```
|
|
|
|
Next, create two new files `HomePage.jsx` and `AboutPage.jsx` in your `src` directory:
|
|
|
|
```bash
|
|
cd ./src
|
|
touch HomePage.jsx
|
|
touch AboutPage.jsx
|
|
```
|
|
|
|
In `HomePage.jsx`, add the following code:
|
|
|
|
```jsx file=src/HomePage.jsx
|
|
function HomePage() {
|
|
return <h1>Home Page</h1>;
|
|
}
|
|
|
|
export default HomePage;
|
|
```
|
|
|
|
In `AboutPage.jsx`, add the following code:
|
|
|
|
```jsx file=src/AboutPage.jsx
|
|
function AboutPage() {
|
|
return <h1>About Page</h1>;
|
|
}
|
|
|
|
export default AboutPage;
|
|
```
|
|
|
|
Next, we set up the routing. First, install React Router in your project:
|
|
|
|
```bash
|
|
npm install react-router-dom
|
|
```
|
|
|
|
Then, set up the router by replacing the code in `App.jsx` with the following:
|
|
|
|
```jsx file=App.jsx
|
|
import React from 'react';
|
|
import { BrowserRouter as Router, Route, Link, Routes } from 'react-router-dom';
|
|
import HomePage from './HomePage';
|
|
import AboutPage from './AboutPage';
|
|
|
|
function App() {
|
|
return (
|
|
<Router>
|
|
<div>
|
|
<nav>
|
|
<ul>
|
|
<li>
|
|
<Link to="/">Home</Link>
|
|
</li>
|
|
<li>
|
|
<Link to="/about">About</Link>
|
|
</li>
|
|
</ul>
|
|
</nav>
|
|
|
|
<Routes>
|
|
<Route path="/about" element={<AboutPage />} />
|
|
<Route path="/" element={<HomePage />} />
|
|
</Routes>
|
|
</div>
|
|
</Router>
|
|
);
|
|
}
|
|
|
|
export default App;
|
|
```
|
|
|
|
The basic setup is now complete. Run `npm run dev` to see your app in action.
|
|
|
|
|
|
|
|
## Adding PostHog
|
|
|
|
With our app set up, it's time to install and set up PostHog. If you don't have a PostHog instance, you can [sign up for free](https://us.posthog.com/signup).
|
|
|
|
First install `posthog-js` and `@posthog/react`:
|
|
|
|
```bash
|
|
npm install posthog-js @posthog/react
|
|
```
|
|
|
|
Next, import PostHog into `src/main.jsx` and set up it up using your project API key and host from [your project settings](https://us.posthog.com/settings/project). Then we wrap our app with `PostHogProvider` to access PostHog in any component.
|
|
|
|
```jsx file=src/main.jsx
|
|
import React from 'react'
|
|
import ReactDOM from 'react-dom/client'
|
|
import './index.css'
|
|
import App from './App.jsx'
|
|
import posthog from 'posthog-js'
|
|
import { PostHogProvider } from '@posthog/react'
|
|
|
|
posthog.init('<ph_project_api_key>', {
|
|
api_host: '<ph_client_api_host>',
|
|
defaults: '<ph_posthog_js_defaults>',
|
|
})
|
|
|
|
ReactDOM.createRoot(document.getElementById('root')).render(
|
|
<React.StrictMode>
|
|
<PostHogProvider client={posthog}>
|
|
<App />
|
|
</PostHogProvider>
|
|
</React.StrictMode>,
|
|
)
|
|
```
|
|
|
|
Once you've done this, reload your app and click the links a few times. You should see pageviews and events appearing in PostHog's [activity tab](https://us.posthog.com/activity/explore).
|
|
|
|
<ProductScreenshot
|
|
imageLight="https://res.cloudinary.com/dmukukwp6/image/upload/Clean_Shot_2025_05_22_at_12_52_46_2x_7224c6ef4d.png"
|
|
imageDark="https://res.cloudinary.com/dmukukwp6/image/upload/Clean_Shot_2025_05_22_at_12_52_58_2x_672876af4d.png"
|
|
alt="Events in PostHog"
|
|
classes="rounded"
|
|
/>
|
|
|
|
## Capturing custom events
|
|
|
|
Beyond pageviews and autocaptured events, there might be more events you want to capture. To do this, you can [capture custom events](/docs/product-analytics/capture-events) with PostHog.
|
|
|
|
To showcase this, update the code in `HomePage.jsx` to include a button that uses PostHog to capture a `home_button_clicked` event:
|
|
|
|
```jsx file=HomePage.jsx
|
|
import { usePostHog } from '@posthog/react'
|
|
|
|
function HomePage() {
|
|
const posthog = usePostHog()
|
|
return (
|
|
<div>
|
|
<h1>Home Page</h1>
|
|
<button
|
|
onClick={() => {
|
|
posthog.capture('home_button_clicked', {
|
|
'user_name': 'Max the Hedgehog'
|
|
});
|
|
}}>
|
|
Click Me
|
|
</button>
|
|
</div>
|
|
);
|
|
}
|
|
|
|
export default HomePage;
|
|
```
|
|
|
|
Now when you click the button, PostHog captures the custom `home_button_clicked` event. Notice that we also added a property `user_name` to the event. This is helpful for filtering events in PostHog.
|
|
|
|
## Further reading
|
|
|
|
- [How to set up surveys in React](/tutorials/react-surveys)
|
|
- [How to set up A/B tests in React](/tutorials/react-ab-testing)
|
|
- [How to set up feature flags in React](/tutorials/react-feature-flags)
|
|
|
|
<NewsletterForm /> |